Blog Home > Tips and Tricks, Videos, Wood Finishing
You have dozens, maybe hundreds, of ways to finish mahogany for your woodworking projects. That’s part of the beauty of the wood; you can apply nearly any finish to it and it’ll look wonderful. So there’s no way to make a definitive declaration about the best finish for mahogany. But I can pass you a few tips, ideas, and tried-and-true techniques that have served woodworkers for many years.
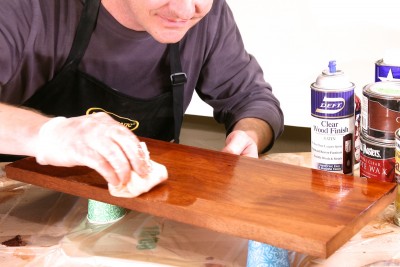
Absorb these three techniques, you might find them useful for your woodworking projects. The video above demonstrates how to fill grain, stain and dye to achieve the following looks and colors in mahogany.
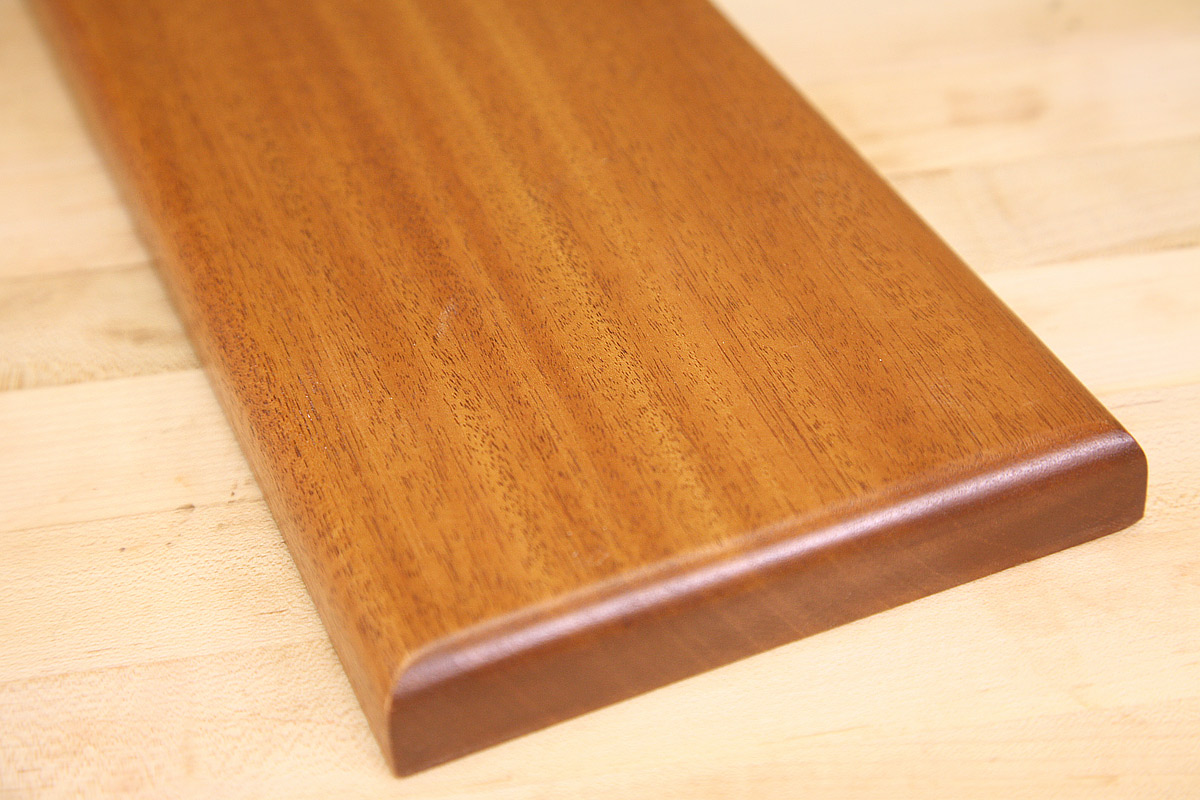
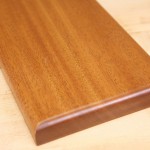
1. How to Make a Deep Red Antique Mahogany Finish Using Dye, Stain, and Filler
This deep red mahogany finish might look like a far cry from the light orange or light brown color you’ll find in natural, unfinished mahogany. But don’t worry, achieving this color isn’t as hard as it may seem.
Products Used:
Of the three process we’ll show you here, this one is the most sophisticated, but it also has the most interesting result of the three. While there are a few steps, it’s a straightforward process that’s not hard to pull off. Even though I’m going to list the exact brands and products I used to create this finish, they’re less important than understanding the process. Other brands will work just fine, too. In short: dye the wood to make it the overall color you want, seal it, fill the grain with something dark (aside from the filler I used, there are several other options too), apply a protective finish on top and polish it.
- Solar Lux aniline dye, medium brown walnut color (it dries with a maroon red color)
- Old Masters Woodgrain filler
- Zar oil stain, Early American color
- Denatured alcohol
- Zinsser SealCoat
- Spray lacquer
Instructions:
- Prepare the wood surface as you normally would by sanding to 180 or 220 grit
- Prepare the dye by diluting it by 50% with water in a mixing container. Apply the dye. If by hand, use a big sponge so you can work fast and cover a lot of area. Try not to let the dye pool up anywhere (wipe it if does pool)
- Let it dry, then lightly sand with a fine grit sanding sponge to knock down raised grain and to even out the color a bit
- Repeat dye & sanding until you’re happy with the shade. Two key things: First, dried dye looks dull and ugly – don’t be alarmed, keep going. Second, rest of the finishing process will darken the dye color, so don’t go too dark. Test.
- Apply a coat of Zinsser Sealcoat after the dye is dry. Work quickly and do not let it drip or pool.
- After it has dried, you may lightly and carefully scuff sand the sealer if it developed nibs or bumps. Be cautious not to sand through the dye. TIP: instead of sandpaper, try a synthetic abrasive finishing pad, also known as synthetic steel wool.
- Mix Old Masters Woodgrain Filler with a dark brown oil stain. In this example that’s Zar Early American. Use a 2:1 ratio, 2 parts filler to one part stain.
- Apply this tinted Woodgrain Filler with a rag, brush, or scraper to work it into the pores of the wood. Follow directions on the can. Let it dry for about 5 minutes, the scrape it off moving across or diagonal to the grain.
- Allow the filler to dry about 4 hours. Do another application if the grain is not filled to your satisfaction. It can also be sanded if necessary.
- Apply the topcoat of choice. The sample above is finished off with another 3 coats of Zinsser SealCoat, sanded between each one with 220 grit. And then it’s sprayed with 3 coats of lacquer, also sanded between each coat.
- Buff and polish when the top coat is ready.
2. Staining Mahogany The Right Way

Left to right: Zar oil stain “Merlot” color; Old Masters Penetrating Oil Stain ‘Dark Mahogany” color; Old Masters Gel Stain “Cherry” color.
Coloring mahogany doesn’t need to be as involved as that first process. You’re allowed to just open a can of wood stain — and there are legitimate reasons for staining mahogany, such as making the color of a whole project look even and homogenous. The results, of course, are far less dramatic and less nuanced than the first method (above), but stains can still look nice.
There are a lot of kinds of oil stains to choose from, but basic penetrating oil stains seem to bring the nicest results from the bunch. You’ll know this kind of a stain by how thin and watery they are. Because of that, they only just kiss the wood with a bit of color. The pigment builds up in the pores, darkening them more than the surface wood which highlights the character in the wood rather than obscuring it. And some stain colors look very natural on mahogany like Old Masters “Dark Mahogany” color.
Not all oil stains are engineered the same way. Gel stain, for example, is most often suited for creating a wood grain appearance on fiberglass doors. That’s why if you were to get up close to the stained piece of mahogany on the right you’d notice that the color appears to be almost like a translucent layer of film riding on top of the wood rather than getting into it. The gel stain has muddied the grain of that piece of mahogany. Gel stain has its place — on a piece of raw mahogany is, arguably, not it.
Genuine mahogany also accepts water based stains just fine. As usual, raise the grain and sand it back before applying the water based stain. If you do want to use a water based stain, I suggest filling the grain with a darker water based filler first. Perhaps Timbermate’s walnut colored filler.
After staining mahogany (and after it dries!), protect it with your preferred top coat like varnish, shellac, lacquer or polyurethane.
Take a closer look at stained mahogany examples:
-
-
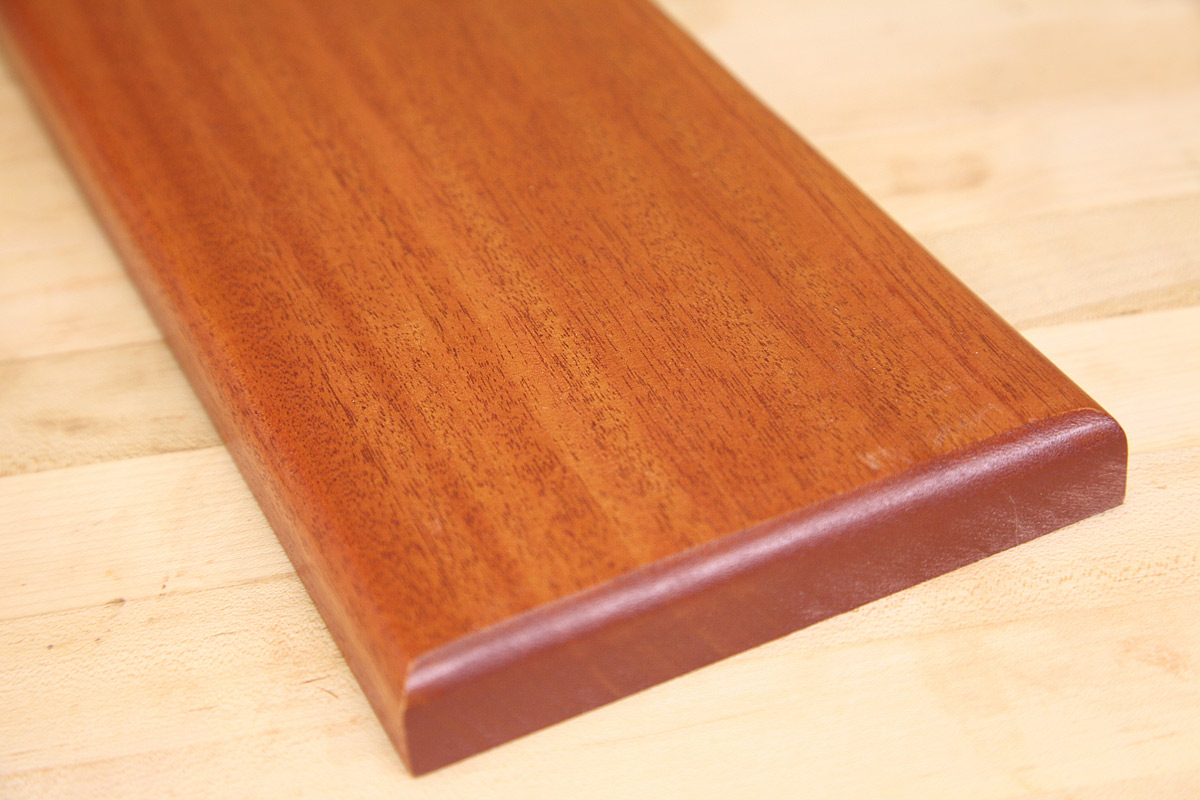
Genuine mahogany with Old Masters Dark Mahogany Penetrating Stain – it gives it a kiss of color, more brown than red, and darkens the pores for a very nice appearance
-
-
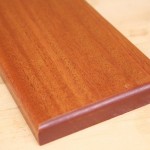
For a more deep red color, try “Merlot” colored stain by Zar. It too provides a nice look that’s subtle.
-
-
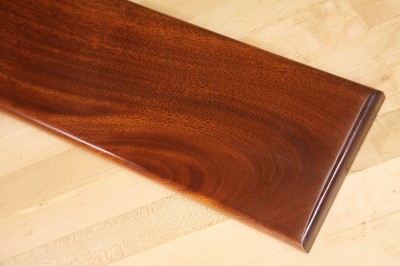
Gel stain on mahogany might not be the best choice, but you decide. Gel coats the surface of the wood and obscures the grain.
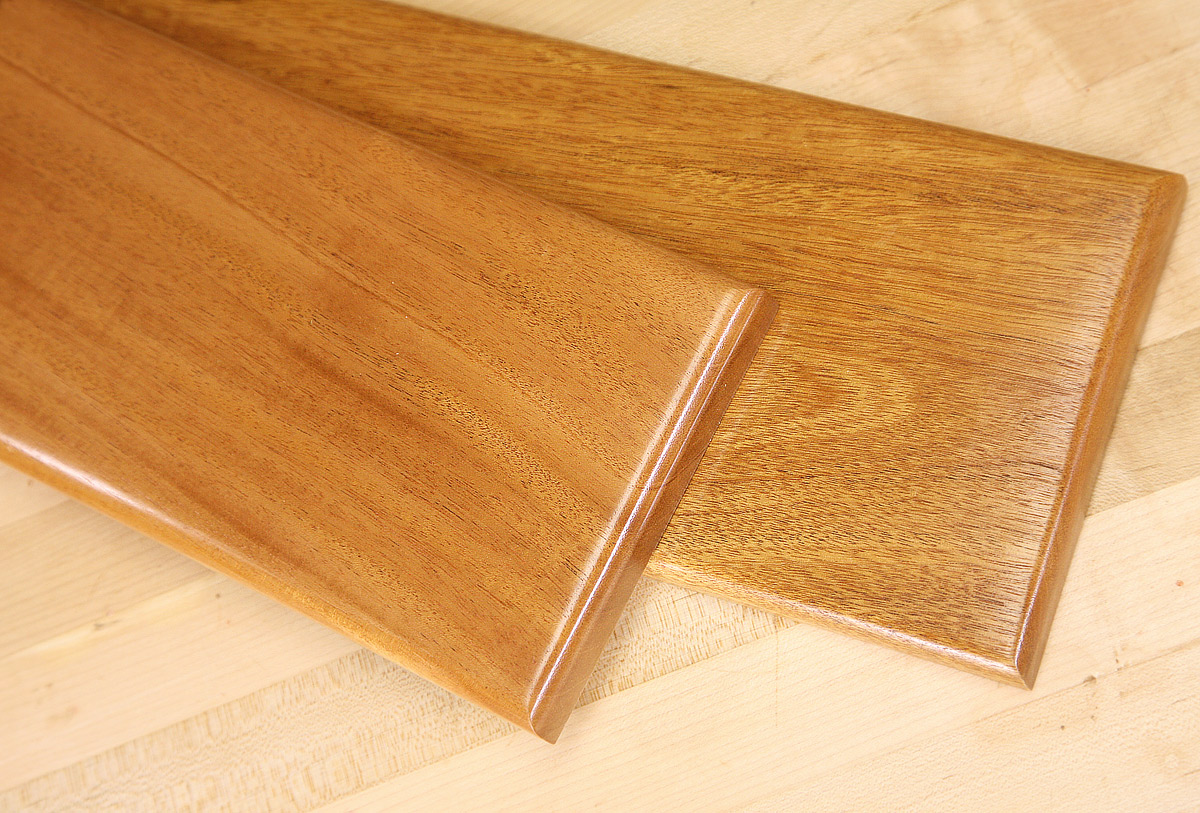
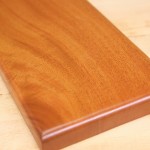
3. Fill the grain to get a perfectly smooth finish

Harder to see in pictures, but the piece on the left has the grain filled with a mahogany colored filler, the piece on the right does not. Both have a lacquer topcoat.
Your mahogany woodworking project will benefit greatly if you fill the grain first, and you’ll notice the difference between a finish with the grain filled and one without the grain filled. So how do you do it? There is more than one way to skin this cat, so here are two.
1. Oil Based Woodgrain Filler or Another Paste Filler
We already brought up Old Masters Woodgrain Filler in the first process above. So that’s one product you can use, and it’s easy to work with.
The trick with it is that you’re supposed to tint it with an oil based stain because out of the can it’s an off white or cream color. So you tint it, apply it, let it set up, wipe/scrape it off, and once it dries sand it smooth. The sanding could be optional if you wipe it down well enough and you approve of the color that it leaves. Naturally, the stain you tinted the filler with will color your wood — the sanding will clear it up though. If you still want to stain your mahogany a darker color, you can do so. So you get the benefit of darkened pores, filled pores, and the choice of keeping your mahogany its natural color or staining it.
Another way to keep the stain in the filler from darkening your mahogany is to put down a washcoat (a coat of sealer) before the filler. A light, thinned coat of your preferred clear finish works just fine, or go for a padded-on coat of SealCoat.
2. Timbermate, or Another Water Based Filler
The benefits of a water based wood filler is that it dries much faster and clean up is much simpler than the oil based filler above. You also don’t have to tint it, as it frequently is available in numerous colors. The brand Timbermate offers a mahogany color filler, which is what I’ve used in the sample in the picture above. A darker filler might prove to be a little more interesting, darkening the pores more, but the point is that the filler helps you achieve a glassy smooth finish quickly.
This kind of filler should be applied to bare wood. The usual wood finishes apply right on top (after it dries), and that goes for shellac, polyurethane, varnish, lacquer and water borne top coats.
Want a Few More Ideas?
If none of these suit your tastes, don’t worry. We’ve got three more recipes for you, too.
See our post “3 More Easy & Exquisite Finishes for Mahogany” with step-by-step instructions.
Vice President of Operations – Woodworkers Source
We’re a family-owned lumber & woodworking supply retailer with 3 delightful stores in Arizona, and 35 friendly employees.
Mark oversees the company and creates tutorials on wood finishing and woodworking tips for hardwood lumber.
Woodworkers Source is a division of MacBeath Hardwood Co.
Discussion, Questions & Answers