Blog Home > Tips and Tricks, Wood Finishing, Woodworking 101
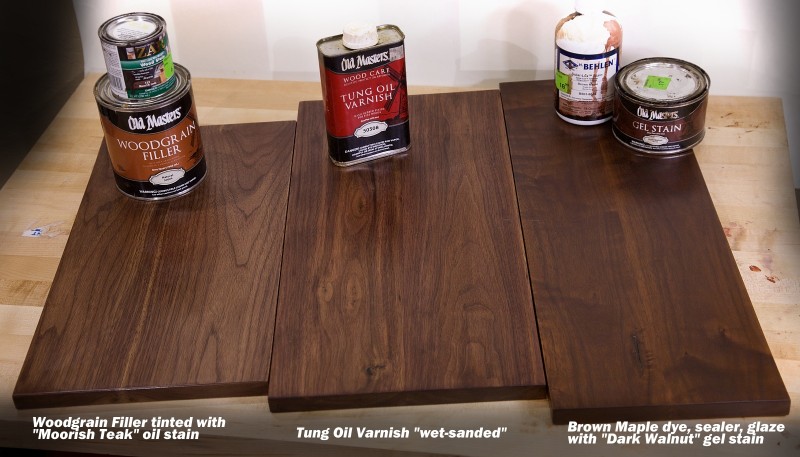
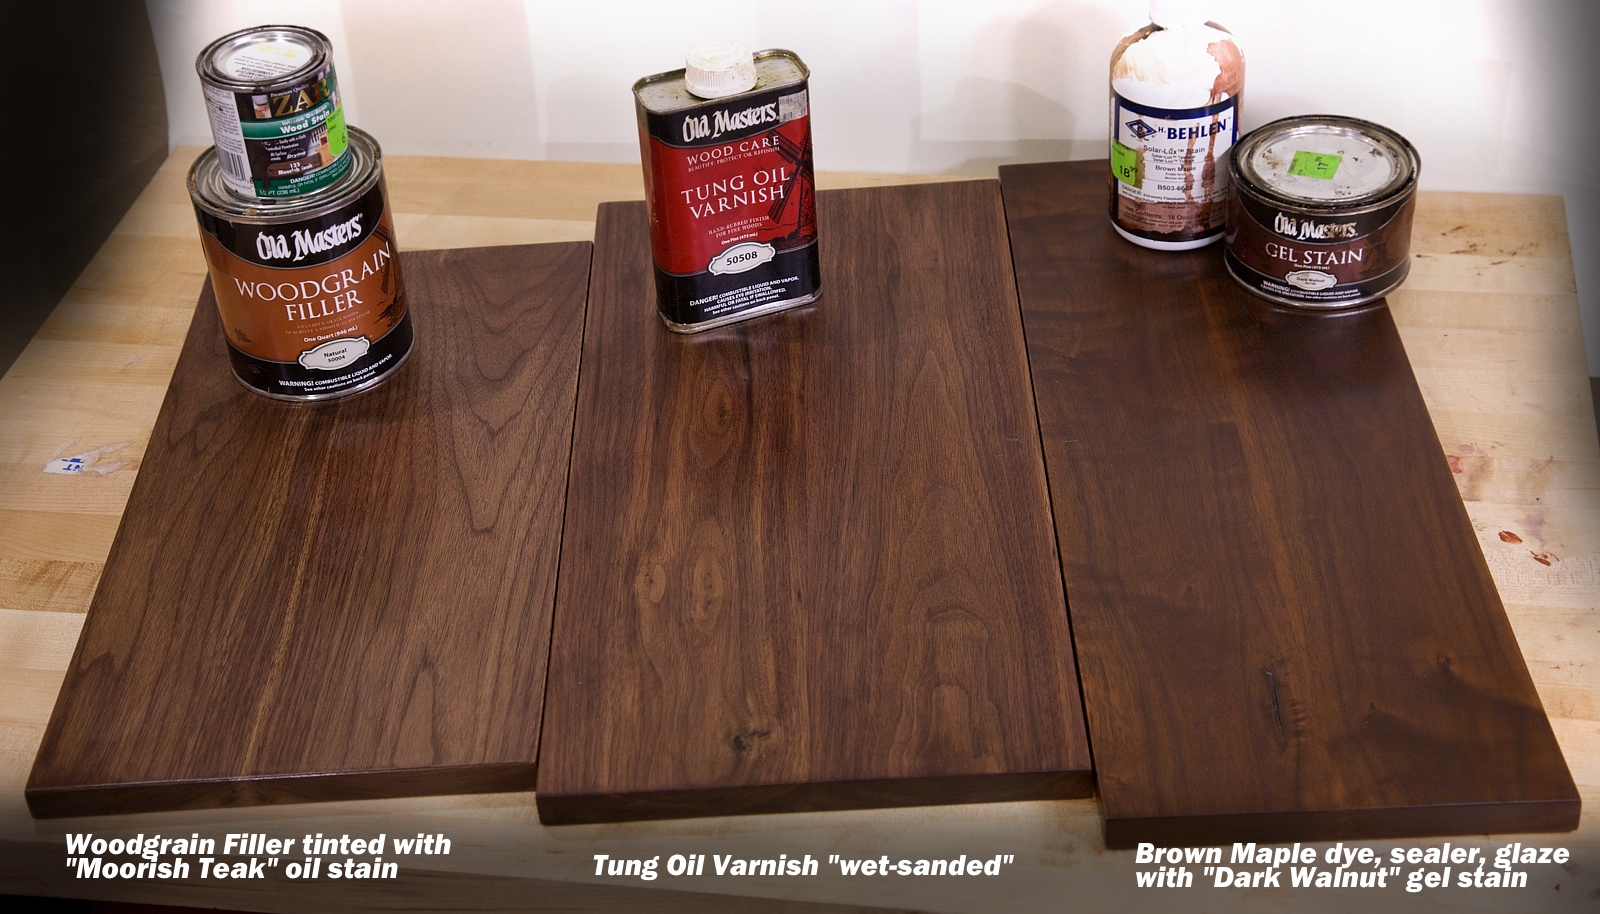
Here are three nice ways to help give walnut its best finish possible. Each method produces beautiful color without making the wood look unnatural.
When we say walnut looks great with a finish, you’re probably asking, “Um… which finish?” Good question. However the answer isn’t exactly a simple one because you can apply dozens of techniques to walnut and the wood will . . . look great.
But here are three really good ways to give walnut a nice appearance in your custom walnut furniture projects or small decorative projects that you can easily master. Each board you see above is a glue-up panel 10″ to 12″ wide, and about 24″ long, and each one is detailed below.
1. Grain Filler: Adds Contrast and Helps Achieve a Glass-Smooth Top Coat
Why and When?
It should be pretty clear that a tinted woodgrain filler (AKA paste wood filler) adds emphasis to the grain pattern by putting a little contrast in the pores. This method is especially useful when you want to make a table top, desk top, counter, to get a smooth clear top coat finish. And especially if you want to get a high-gloss sheen, you’ll want to fill the grain before applying your clear finish.
Supplies & Products
- Sanding sealer (Zinsser SealCoat is used in this sample)
- Old Masters Woodgrain Filler
- A dark brown oil stain (Zar Moorish Teak used in this sample)
- Cotton rags, shop towels, foam brushes
- Putty knife or a 6″ squeegee
- Denatured alcohol
- Mineral Spirits or paint thinner
- Abrasives and/or finishing pads
- Latex gloves
How to apply it
- Prep your work as you normally would by hand planing, scraping and/or sanding. You shouldn’t need to go any finer than 180 or 220 grit for this process. Once it’s smooth and flat, seal the wood with a thin coat of sealer. If using SealCoat, apply it with a “shellac pad” – a small cotton rag balled up and soaked in SealCoat, then wrapped in a clean cotton rag.
- Lightly scuff sand once it’s dry.
- Prepare the grain filler. Oil based grain fillers are usually a dull gray or tan color and therefore need to be tinted with an oil stain. The darker the oil stain, the more contrast it’ll provide in the pores. 2 parts filler to 1 part stain. Mix it in a cup.
- Apply the grain filler. Use a brush or a rag to apply the woodfiller to your work going with the grain. Work it in for 2 to 3 minutes, then let it stand for 10 to 15 minutes. It’ll leave a thick coating all over your work piece.
- Remove the grain filler. Going diagonal to the grain with a putty knife, squeegee or old credit card, scrape the grain filler off the surface . This pulls it off of the surface, but leaves it in the pores. You can gently wipe left over residue with a shop towel
- Allow it to dry, usually 8 hours.
- Sand if necessary. Sometimes you’ll find a deposit of grain filler on the surface that you missed when wiping it off. If so, use 220-grit wet/dry sandpaper and a little bit of mineral spirits. Filler clogs sandpaper quickly, the mineral spirits helps keep the abrasive from loading up too fast.
- Apply a coat of sealer.
- You should discover that one application of the grain filler doesn’t fill the grain 100%. If you’re satisfied with the appearance, though, move on to your top coat. Otherwise, do another application of the grain filler. Usually three applications of grain filler alternated between coats of sealer is sufficient for 100% fill. Then apply your top coat of choice.
2. Wet-Sanded Tung Oil Varnish: Augments Natural Contrast in Walnut + Fills Grain
Another way to fill grain is to simply use the dust from walnut mixed with oil. To some degree, this method is easier than using grain filler.
Why and When?
If you like the look of an oil finish, consider trying tung oil varnish. This finish gives walnut a dark yet warm color, and if you choose to apply it by wet-sanding, this too can fill the grain as above. The appearance is only slightly different – but different nevertheless. Tung oil varnish can be used by itself, and then buffed to a semi-gloss or satin sheen with paste wax after 3 or 4 coats. Or, once the tung oil varnish dries, it can be topcoated with polyurethane, shellac, or lacquer.
Supplies & Products
- Old Masters Tung Oil Varnish
- 220, 400 and 600 grit wet/dry sand paper
- Cotton rags, shop towels
- Mineral Spirits or paint thinner
- Latex gloves
How To Apply It
- Prep your work as you normally would by hand planing, scraping and/or sanding. You shouldn’t need to go any finer than 180 or 220 grit for this process.
- Using a rag or shop towel, coat your work piece with a liberal amount of the Tung Oil Varnish. Be sure to get the edges and end grain.
- While the oil is wet, sand it with 220-grit wet/dry sand paper. Go with the grain. Wrap the sand paper around a block if you want, or just use your fingers. The wood dust mixes with the oil and creates a paste, so as you sand back and forth, the paste will compact into the pores. You may need to add a little more oil as you sand. Sand until you’ve covered the entire work piece.
- Use a rag or shop towel to wipe off the excess, and work across the grain. Let it dry for 4 to 6 hours.
- Once it’s dry, sand the surface smooth with 220-grit or 320 grit sand paper.
- Repeat the oil application, and perhaps move up to 400-grit wet/dry sandpaper on this coat.
- After the second application dries, sand the work piece smooth (use the same grit you used to apply the oil) and decide if it needs a third application for filling the grain.
- Apply a topcoat of shellac, lacquer or varnish if you want, or buff and polish as is.
Safety tip: oily rags can spontaneously ignite, so do not ball up your used oily rags in a pile. Instead, dry them out by laying them out flat on the ground, or drape them side-by-side over the edge of a trash can, brick wall, clothesline, etc. When they’re dry, they’re safe to throw away.
3. Hide Sapwood and Create an Even Color with Dye and Glaze
Maybe you want more control over the final color, or need to deal with sapwood in your walnut. Try this.
 Before: Panel is prepped by sanding to 220-grit, then it's time for the dye. Notice the inclusion of sapwood in this glue-up panel. That will get blended in with this process.
 After: a pleasing and rich dark brown color that still looks natural but also has helped blend in the pale sapwood.
Why and When?Sometimes you need to arrive at an evenly colored project, blend walnut sapwood, or created a suite of projects that you’d like to have matched in color. Or maybe you simply want to give your walnut a good, rich color that’ll last for the long haul and resist fading for years to come. This might be a good process for you. There are several steps, but fortunately they’re not difficult. See a video demonstration of this process here.
Supplies & Products
- Dark brown dye of your choice (Behlen Solar-Lux “Brown Maple” used here)
- Sanding sealer (Zinsser SealCoat is used here)
- Dark brown gel stain (Old Master Dark Walnut)
- Cotton rags or shop towels
- Linen-sided sponge
- Latex gloves
- Mixing cup
- Denatured alcohol
How to apply it
- Prep your work as you normally would by hand planing, scraping and/or sanding. You shouldn’t need to go any finer than 180 or 220 grit for this process. Then raise the grain by wiping your work with a wet rag, letting it dry, and doing a light sanding once again at the same grit you left off with.
- Prepare the dye. Dilute your dye by 50% or more, using denatured alcohol and/or water. Solar-Lux dries quickly, but if you use water to dilute the dye it won’t dry as fast. That’s helpful for getting a even color. Diluting it and applying multiple coats to build up to your color is also a safer way to achieve an even color.
- How you apply the dye depends on how large your project is. It’s best to spray larger projects, but not entirely necessary. For hand application, use a sponge with linen on side and soak the sponge with dye and lightly wring it out. This kind of sponge helps you to stay in control of the color. Work quickly, and avoid overlapping where the dye has already dried.
- If you created some lap marks, fix them sooner rather than later. There are a couple of ways to do that. First, use a rag that dampened with denatured alcohol and wipe your project down, working the lap marks out as best you can. If they still exist, sand them. Yes, you’ll remove some color, but that’s okay. You’ll be applying another coat (or two or three) of dye anyway.
- After your last coat of dye dries, seal the wood with a thin coat of dewaxed shellac.
- Scuff sand the sealer if necessary
- Apply a dark brown gel stain as a glaze. Wipe it on, and wipe it off, but be careful when wiping off. This step loads the dark gel into the wood pores and also give a kiss of color to the surface of the wood. Don’t wipe off too little, and don’t wipe off too much.
- Allow it to dry, then apply your top coat.
Vice President of Operations – Woodworkers Source
We’re a family-owned lumber & woodworking supply retailer with 3 delightful stores in Arizona, and 35 friendly employees.
Mark oversees the company and creates tutorials on wood finishing and woodworking tips for hardwood lumber.
Woodworkers Source is a division of MacBeath Hardwood Co.
Discussion, Questions & Answers