Blog Home > Woodworking Projects
This project started with a call from my son, Greg. His girl friend had just moved into a new office and she wanted a book shelf to fit in a niche. Would I help him build it?
The design theme would come from a large picture frame in Katie’s office and there were other requirements:

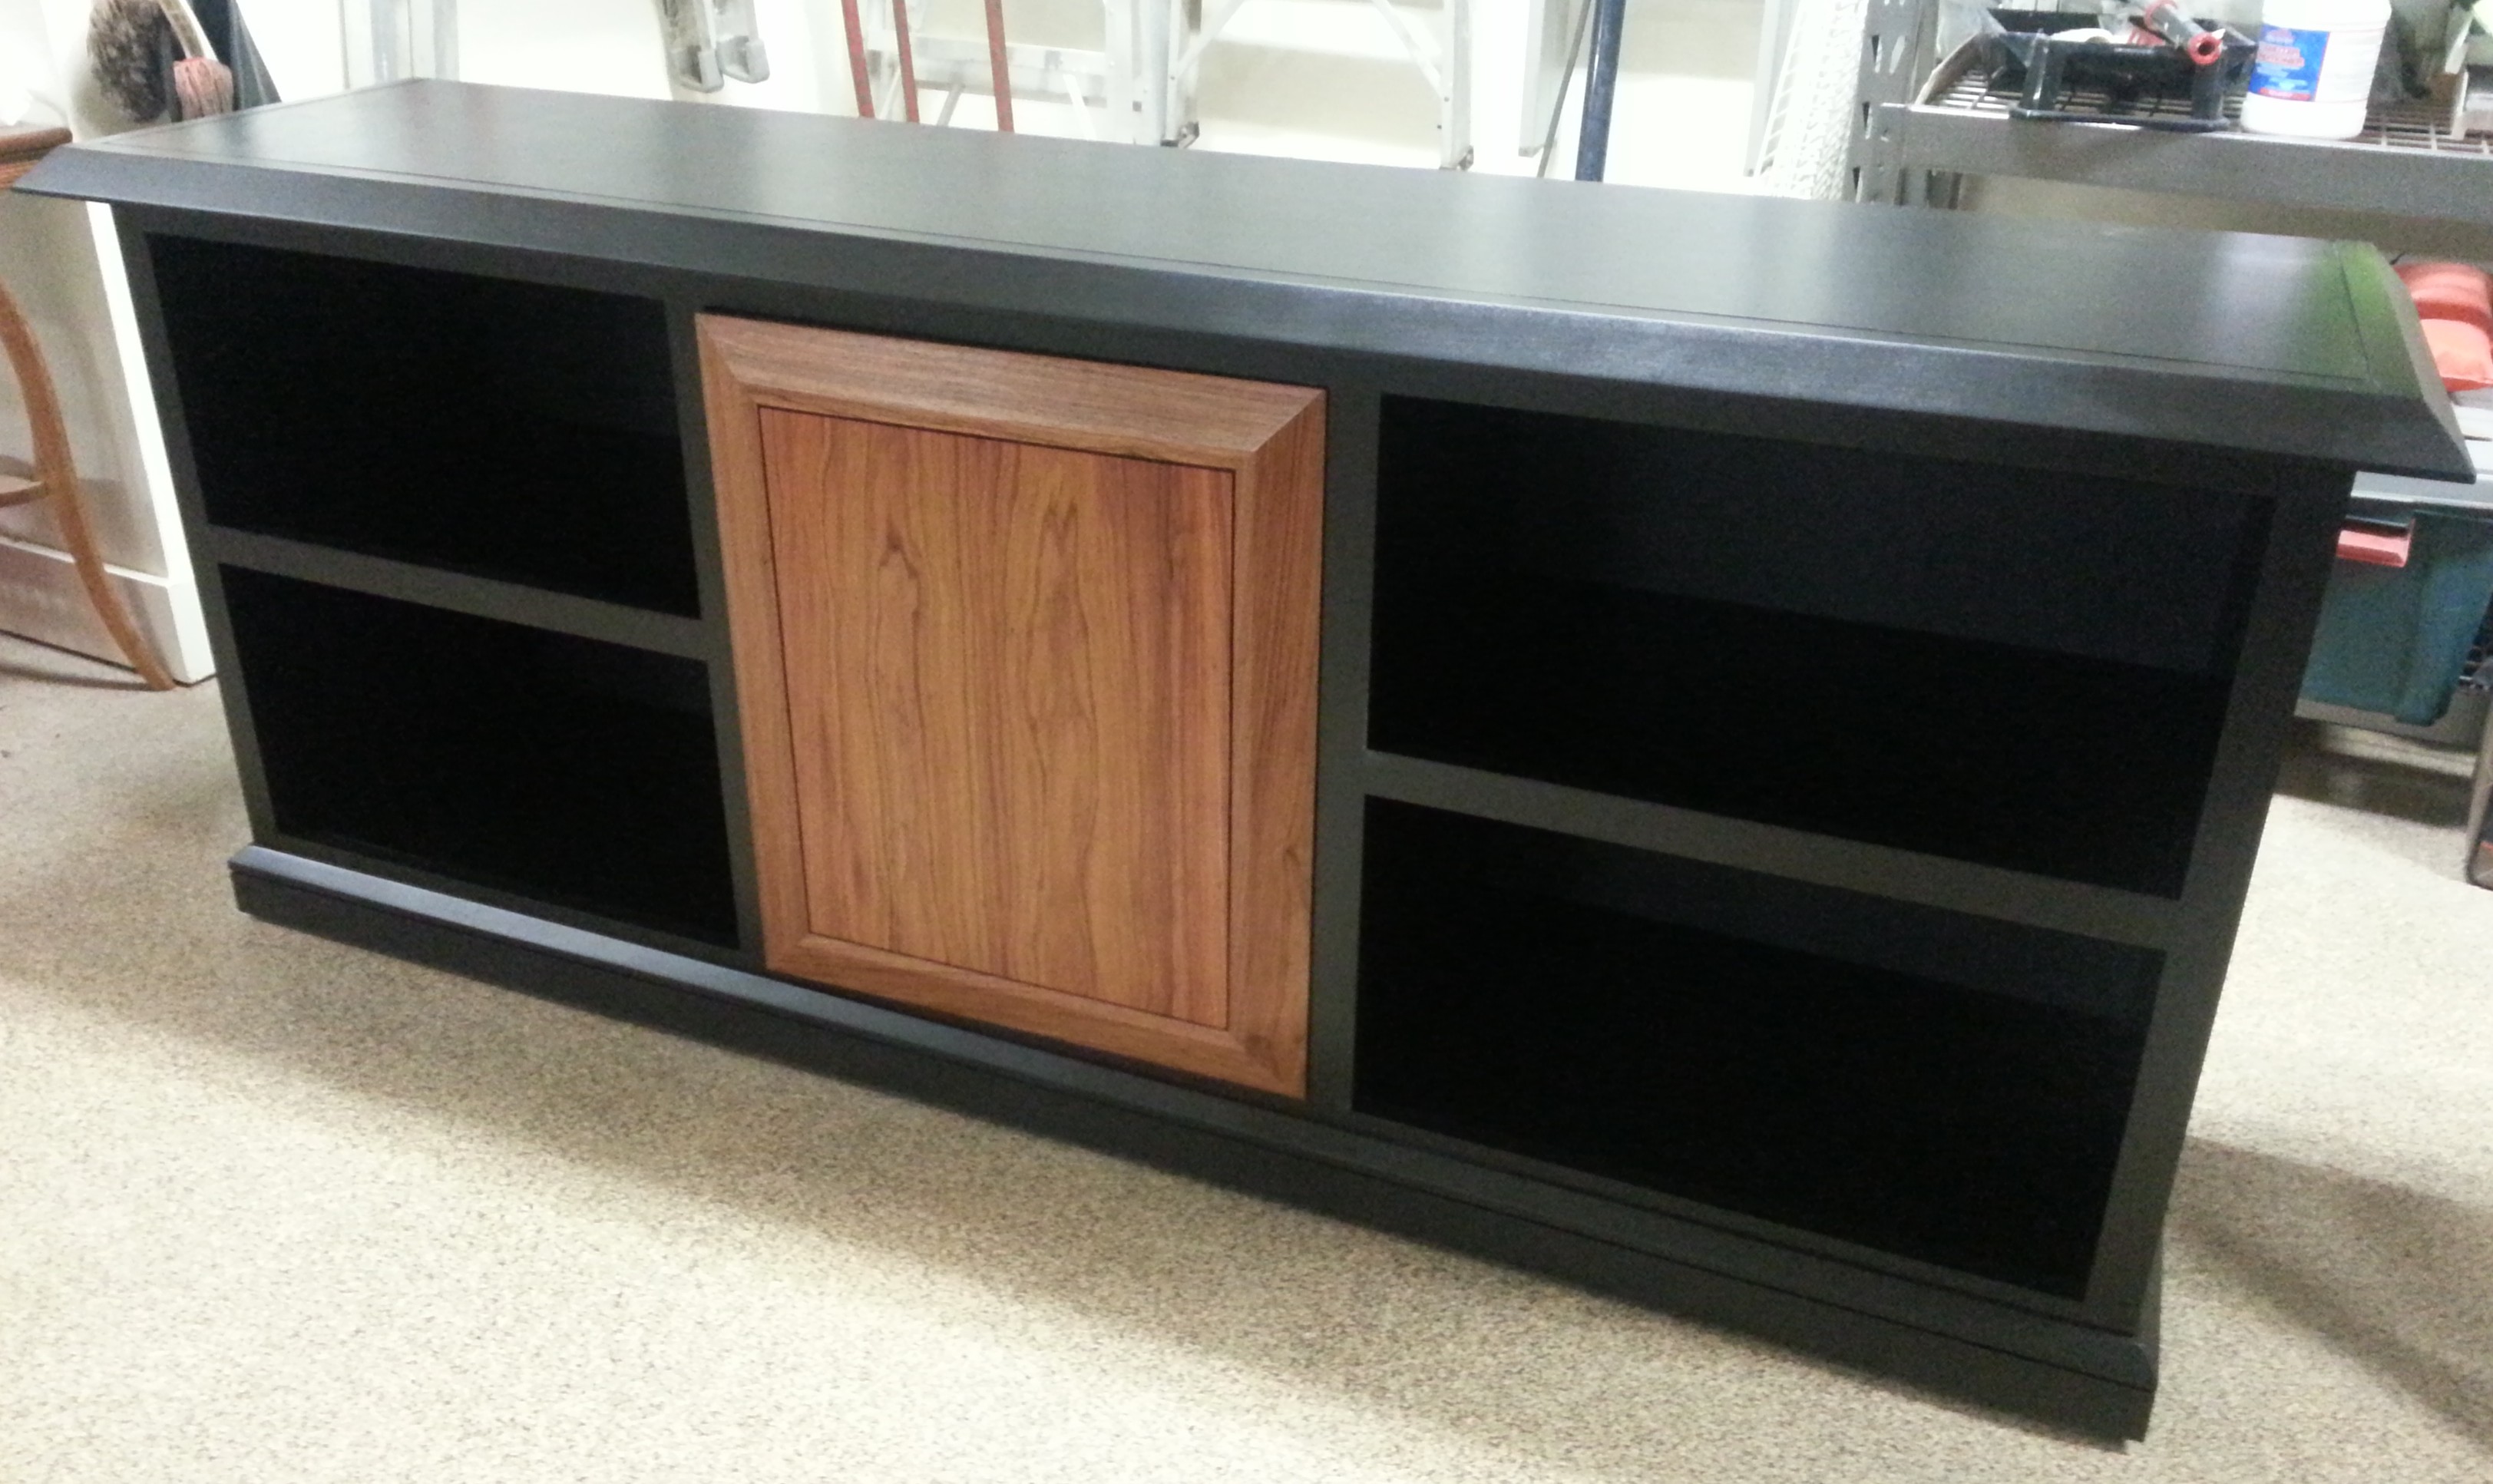
The Inspiration Frame
- Match the bevel design of the frame.
- The cabinet was to be black
- The design had to be symmetrical
- Clean, contemporary look
- Adjustable feet
- The unit had to fit in a recess along one wall
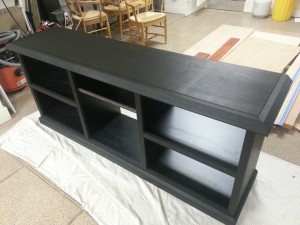
Here is the legal pad sketch and final product.


The interior carcase is black melamine. All the exterior is ebonized Cherry, black aniline dye followed with black Master Gel stain. The door is Macacauba. Satin lacquer is the final top coat.
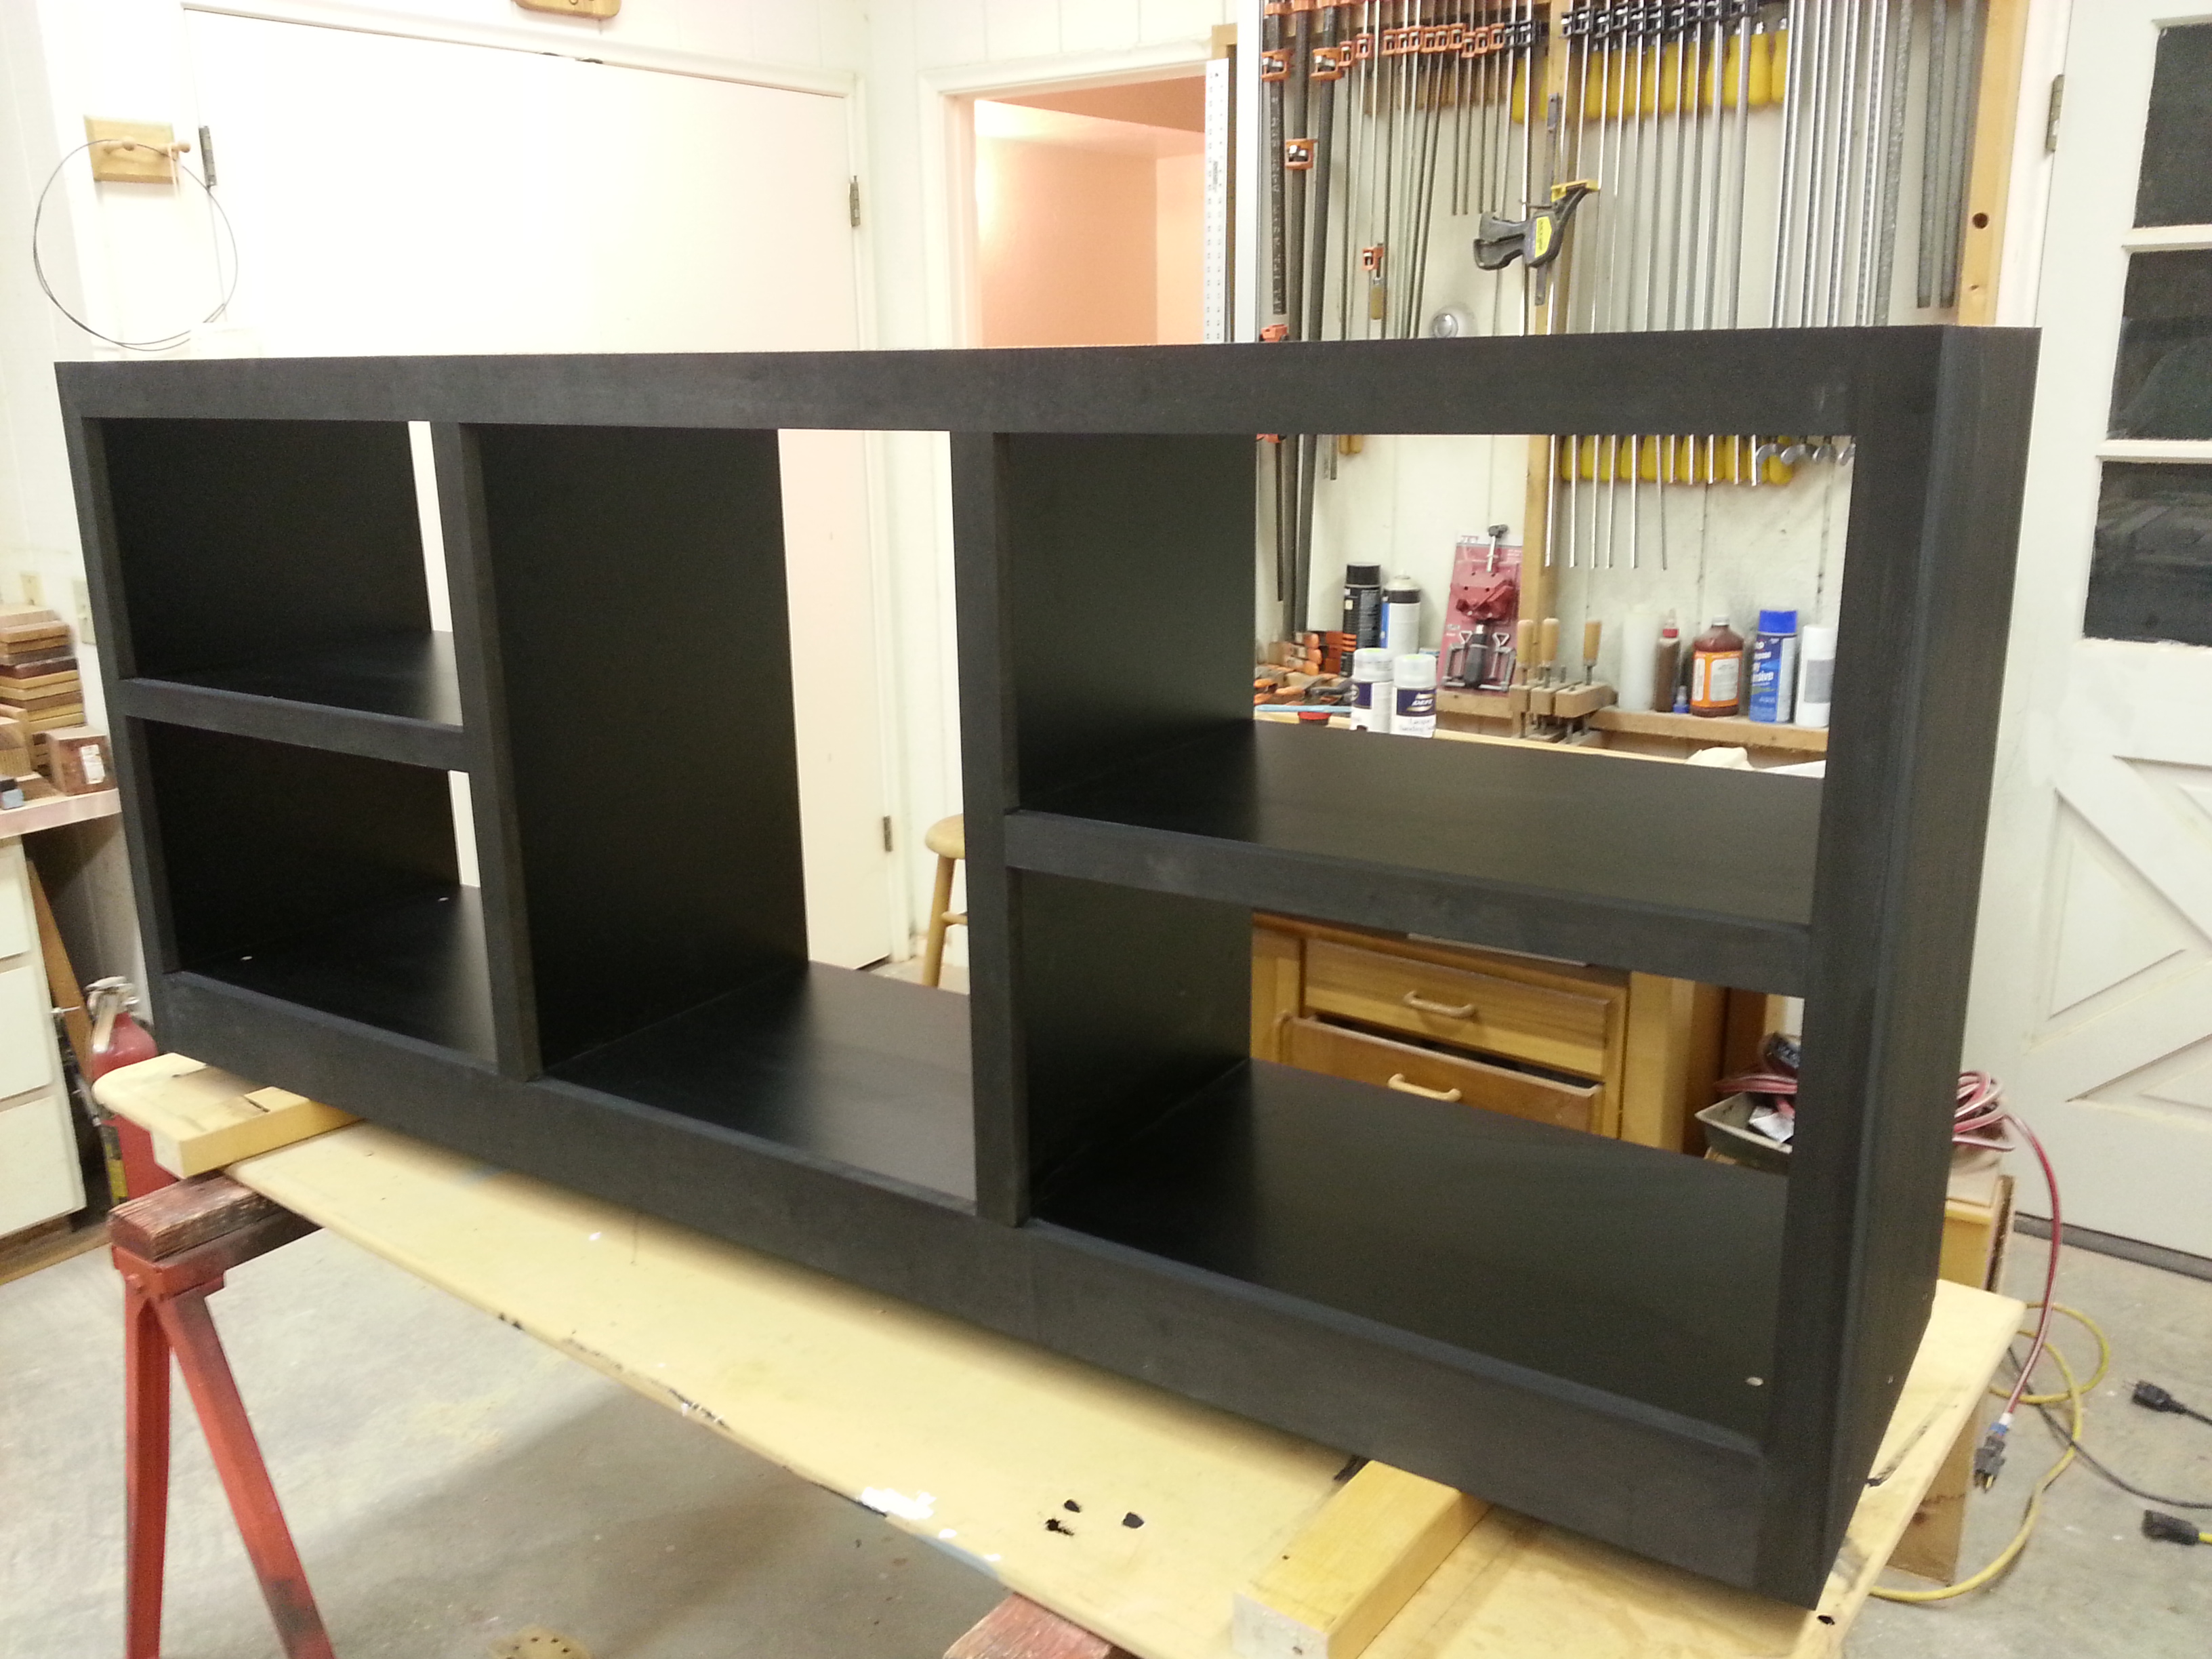
Building the Case
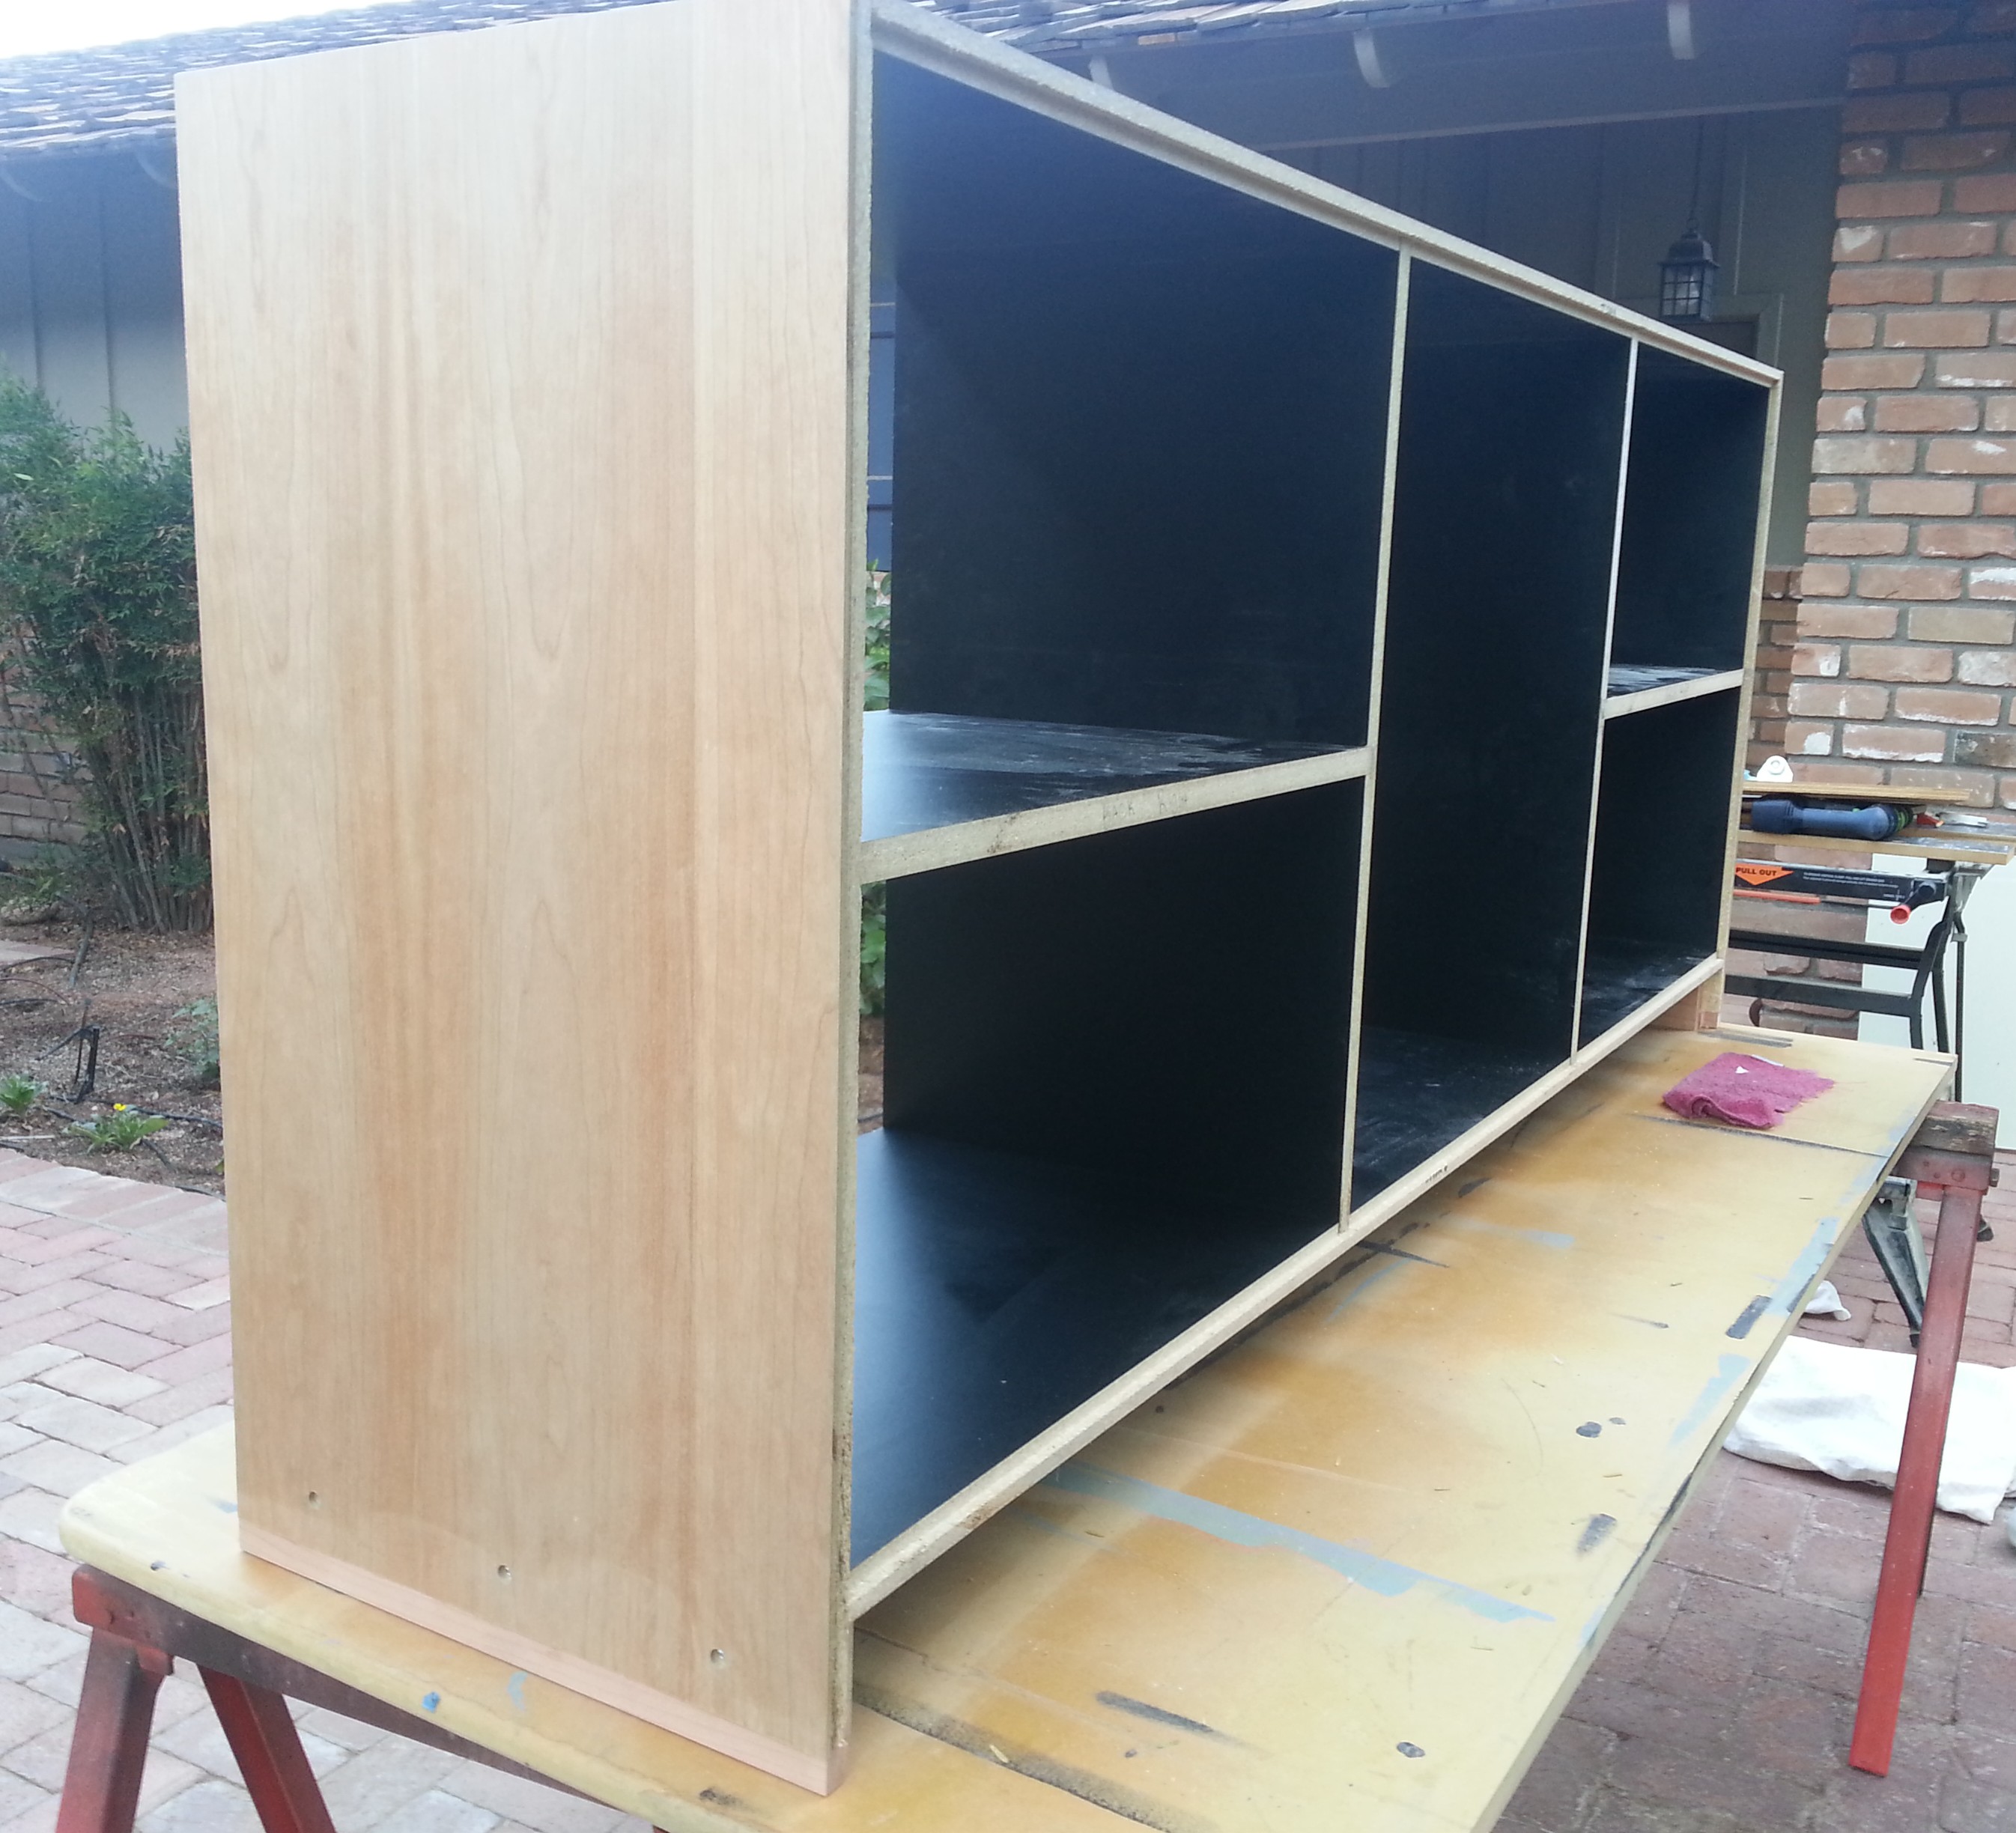
To minize the interior finishing and provide a good wear surface for the shelves, 2 sided black melamine was selected. Dados or rabbets were cut for all of the mating joints, horizontial and verticle. A rabbet was cut to provide for a recessed back.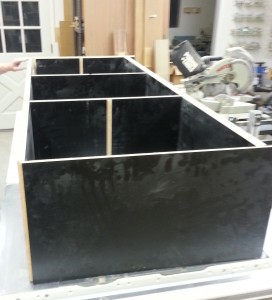
In this dry fit of the case dados for the shelves are visible.
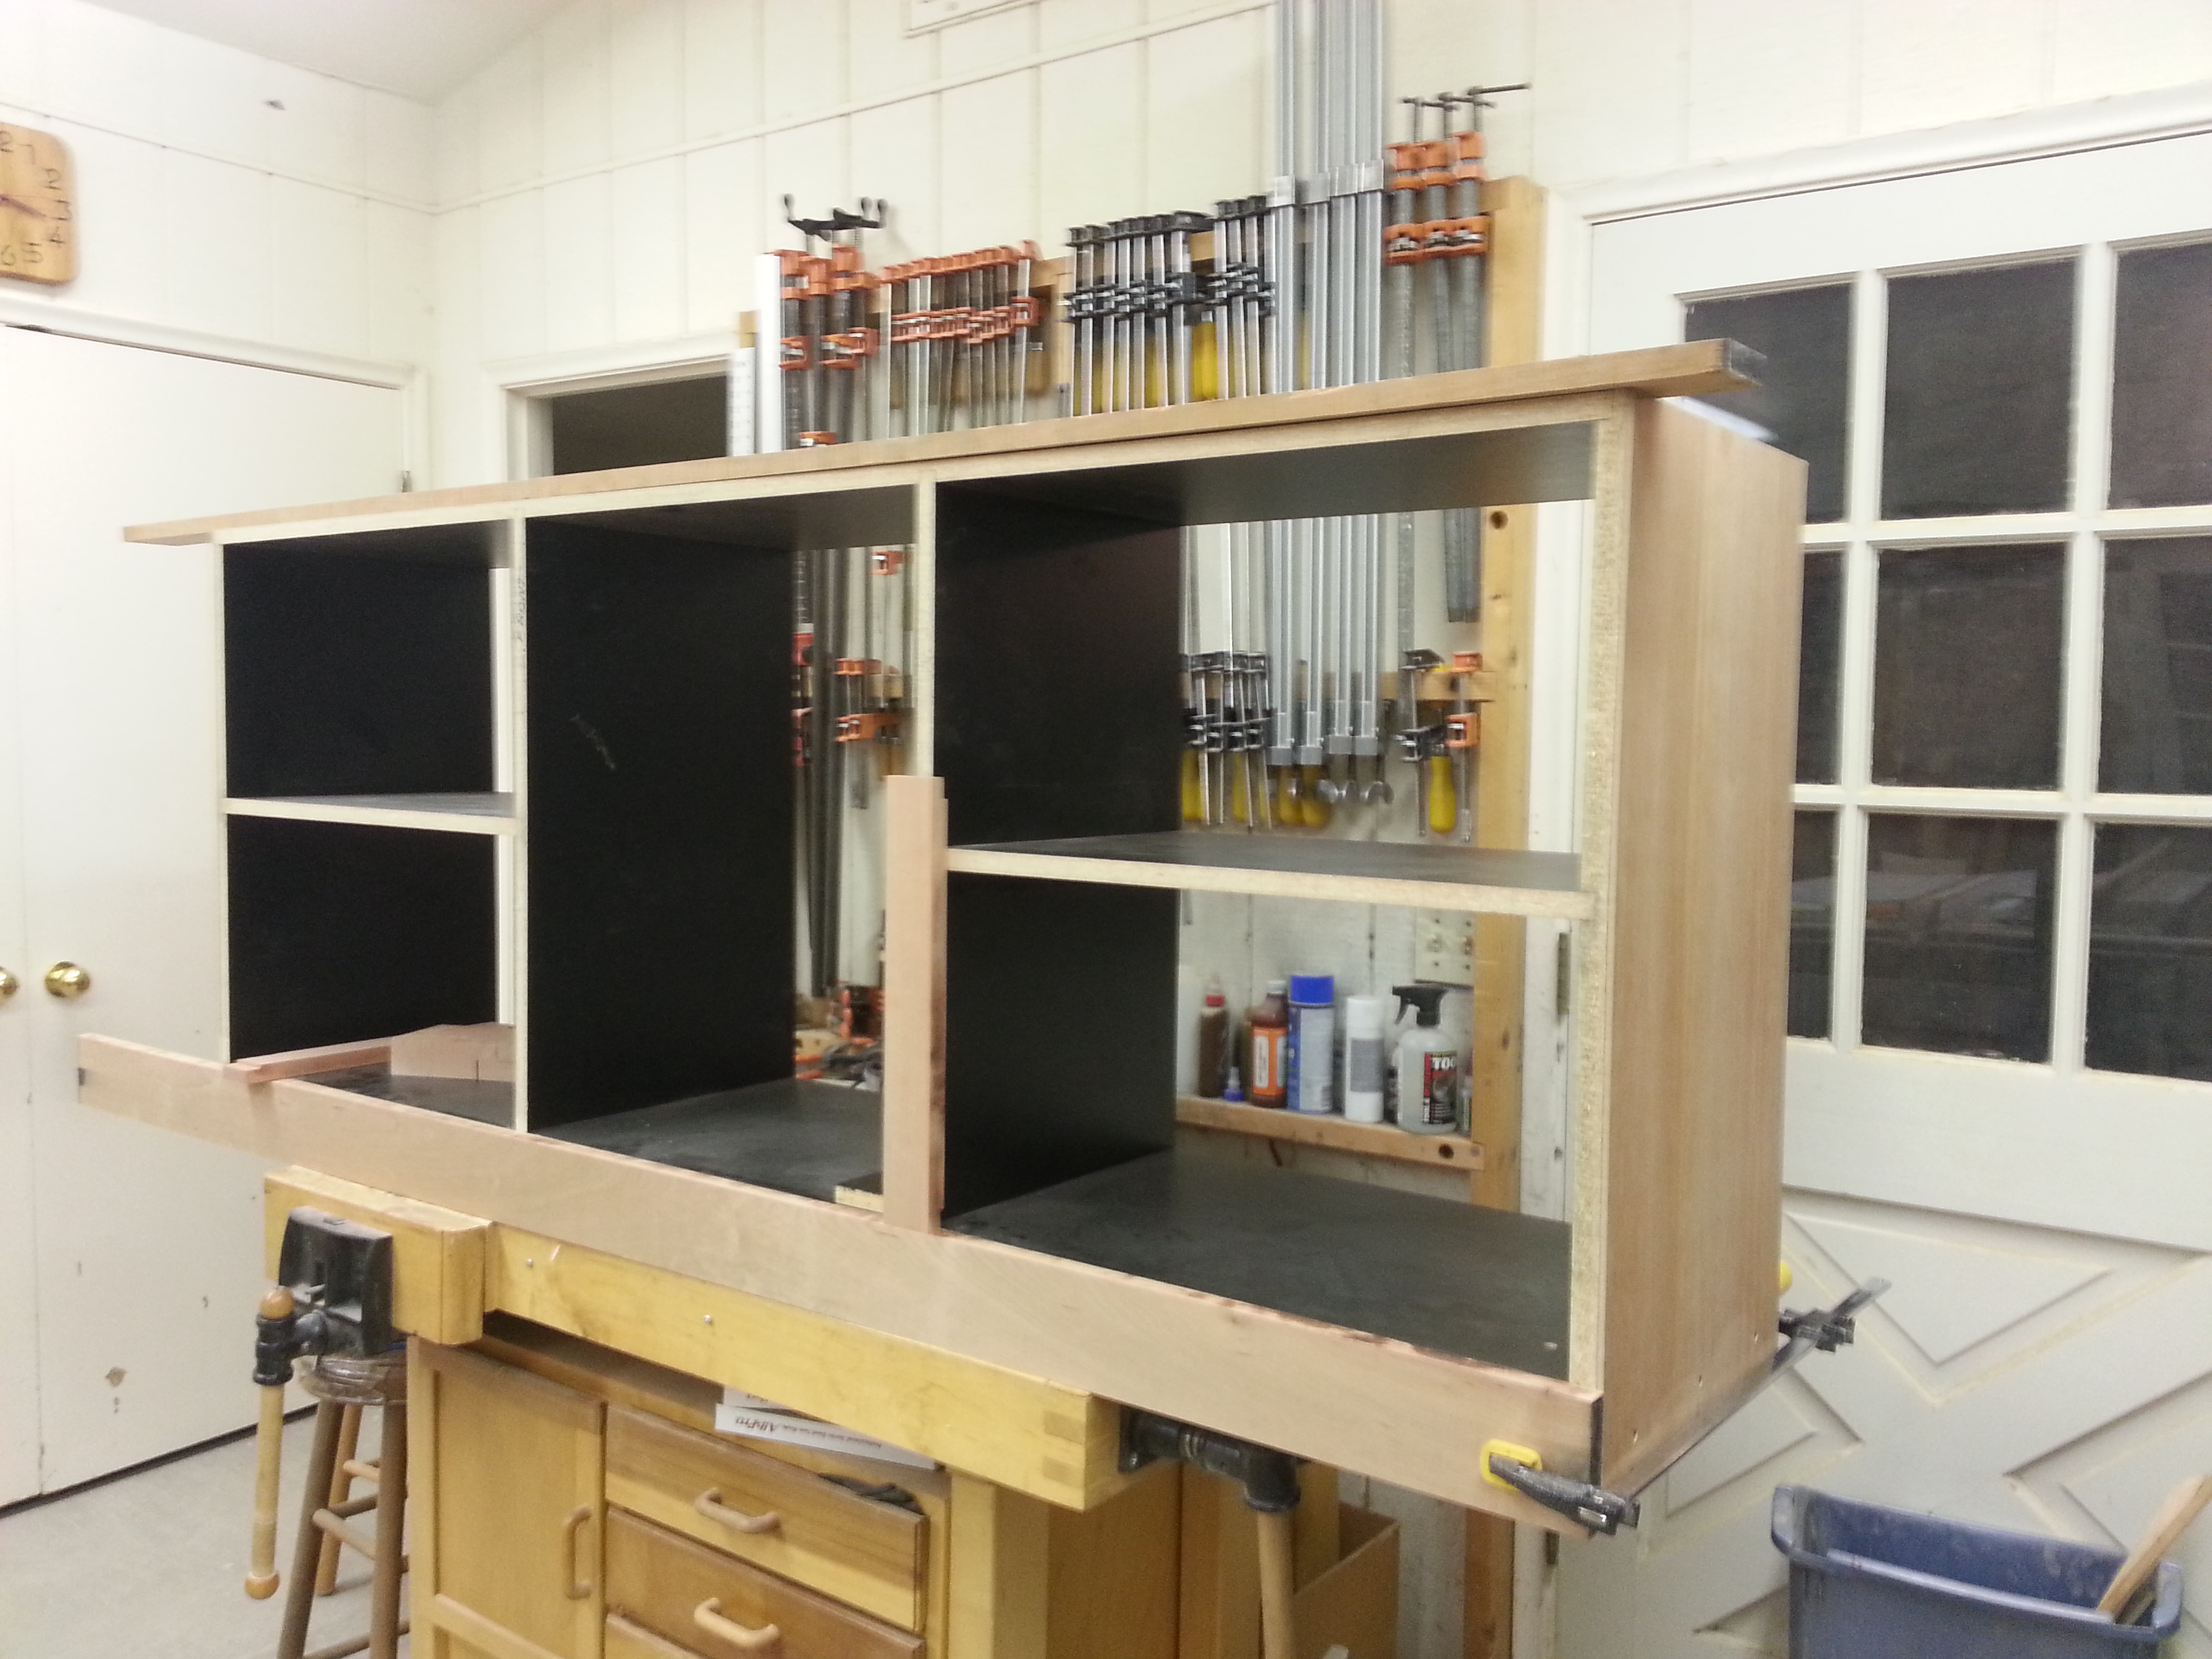
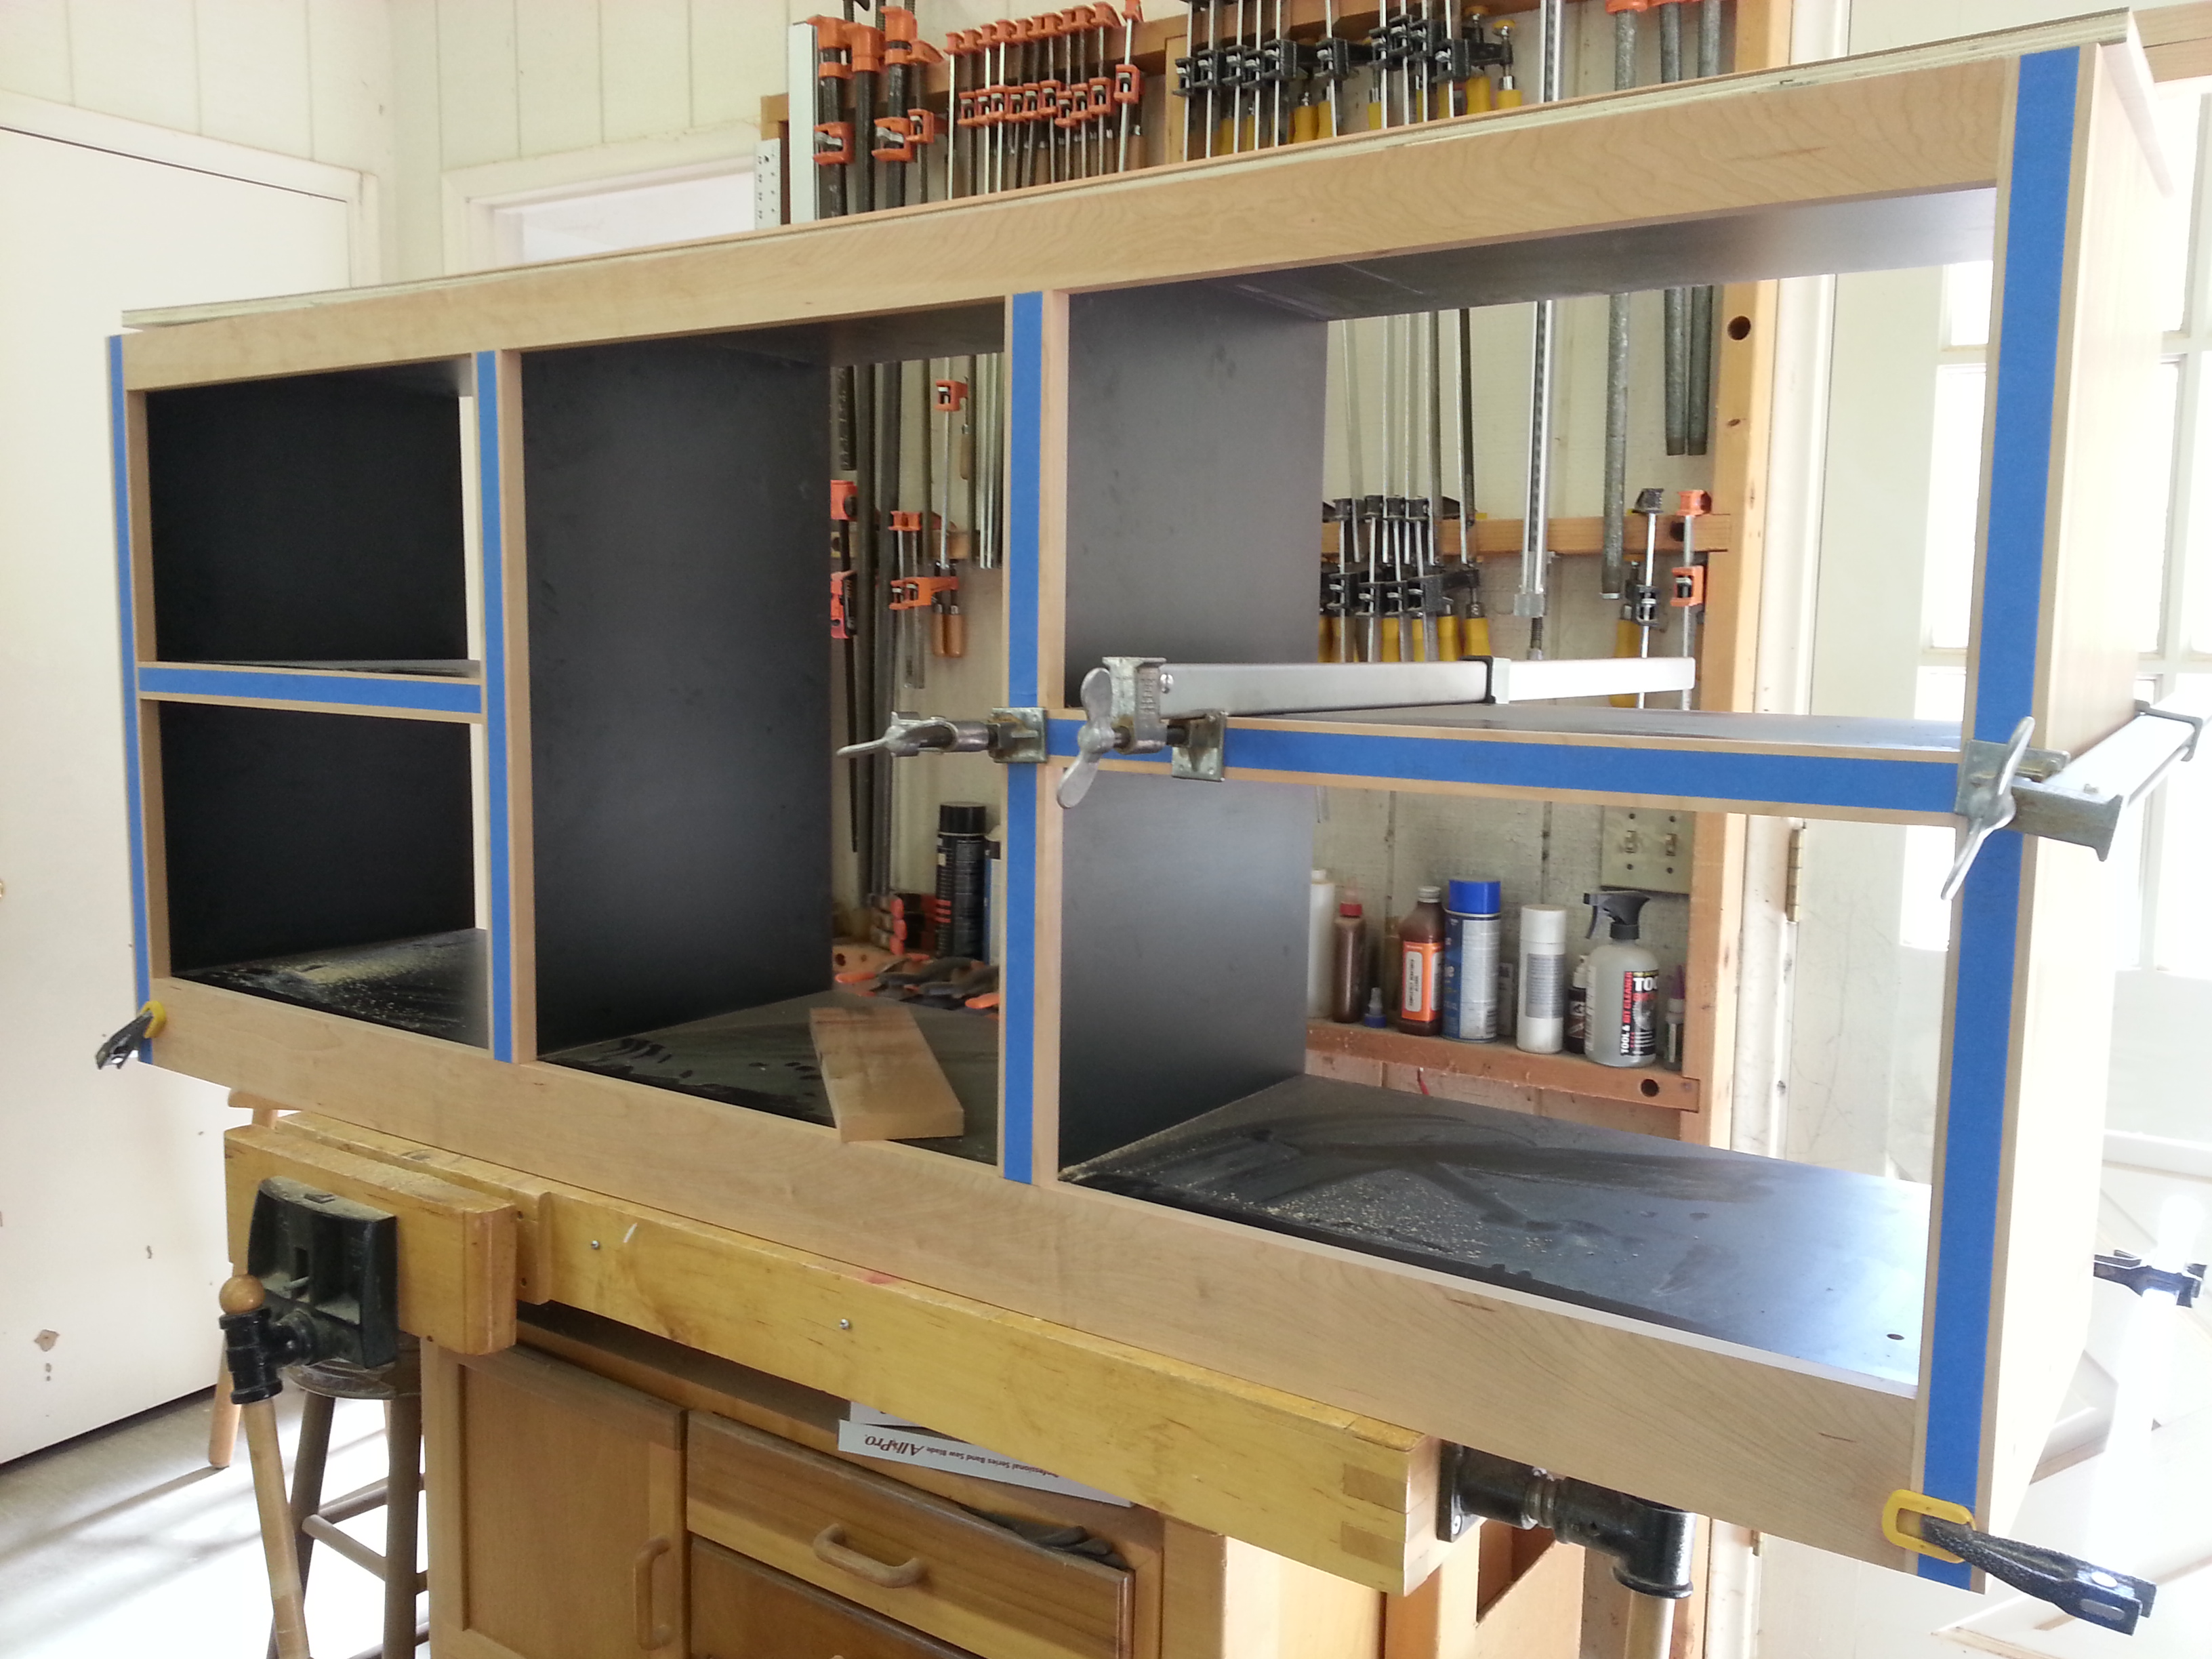
When everything check out the case was clamped and drilled for Confirmat screws. These screws, specifically for particle board or MDF, require a step drill but will hold tight and not split the panel. For this part of the project Titebond Melamine glue was used.
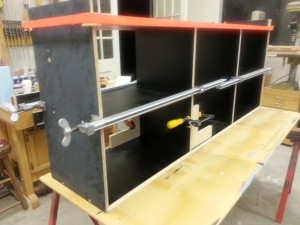
Finally glued, screwed and clamped. Notice the 90 degree blocks to bring everything square.
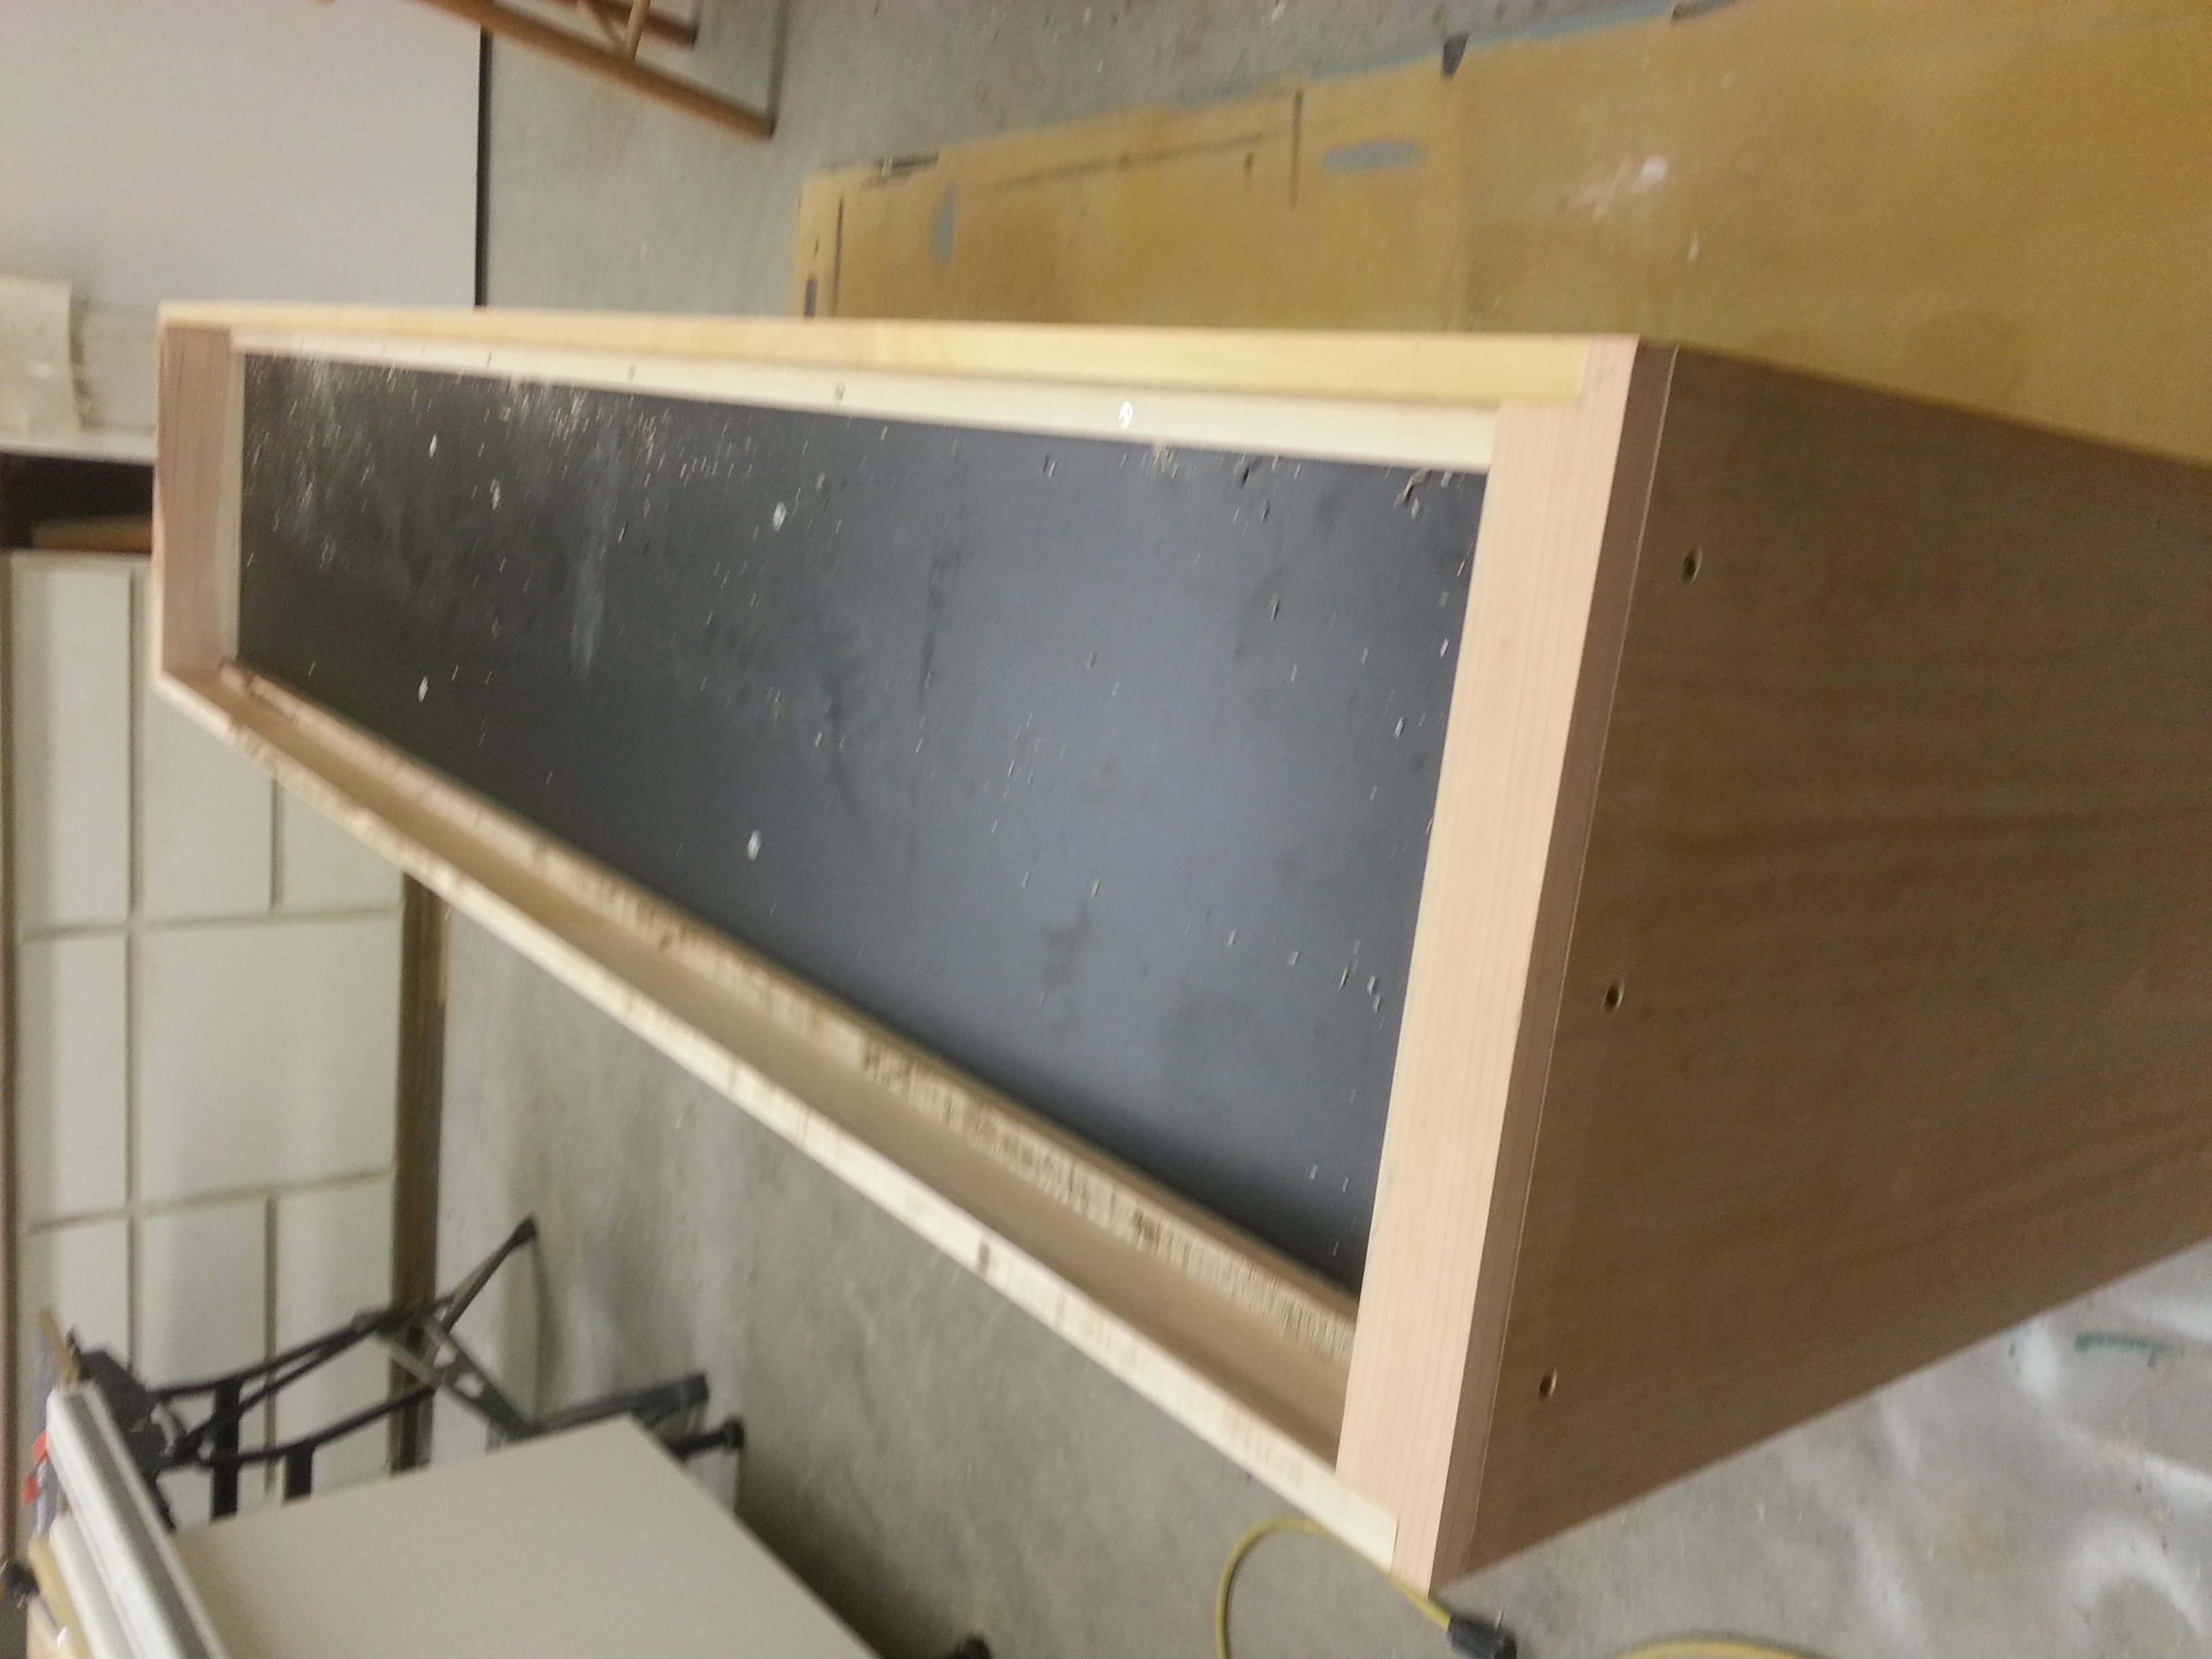
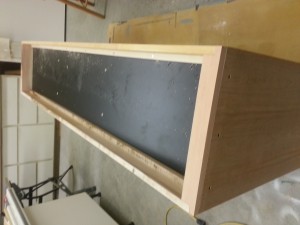
Next step was to attach a Cherry runner to the bottom and 1/4″ Cherry plywood to the exterior of each side. The plywood was cut oversized, glued with contact cement and screwed near the top and bottom where the screws would be covered. A quick pass with a flush trim router bit and the end panels matched the sides perfectly.

The bottom shelf is about 3″ above the floor. Now is the time to add the base support. This required a cleat to provide a place to attach the support. Here is how that all went together.
The base is strengthened
Heavy duty adjustable feet (not shown) were then attached to each corner. These feet adjust through a hole in the bottom. The final step when setting the cabinat is to insert a plastic plug into each hole.
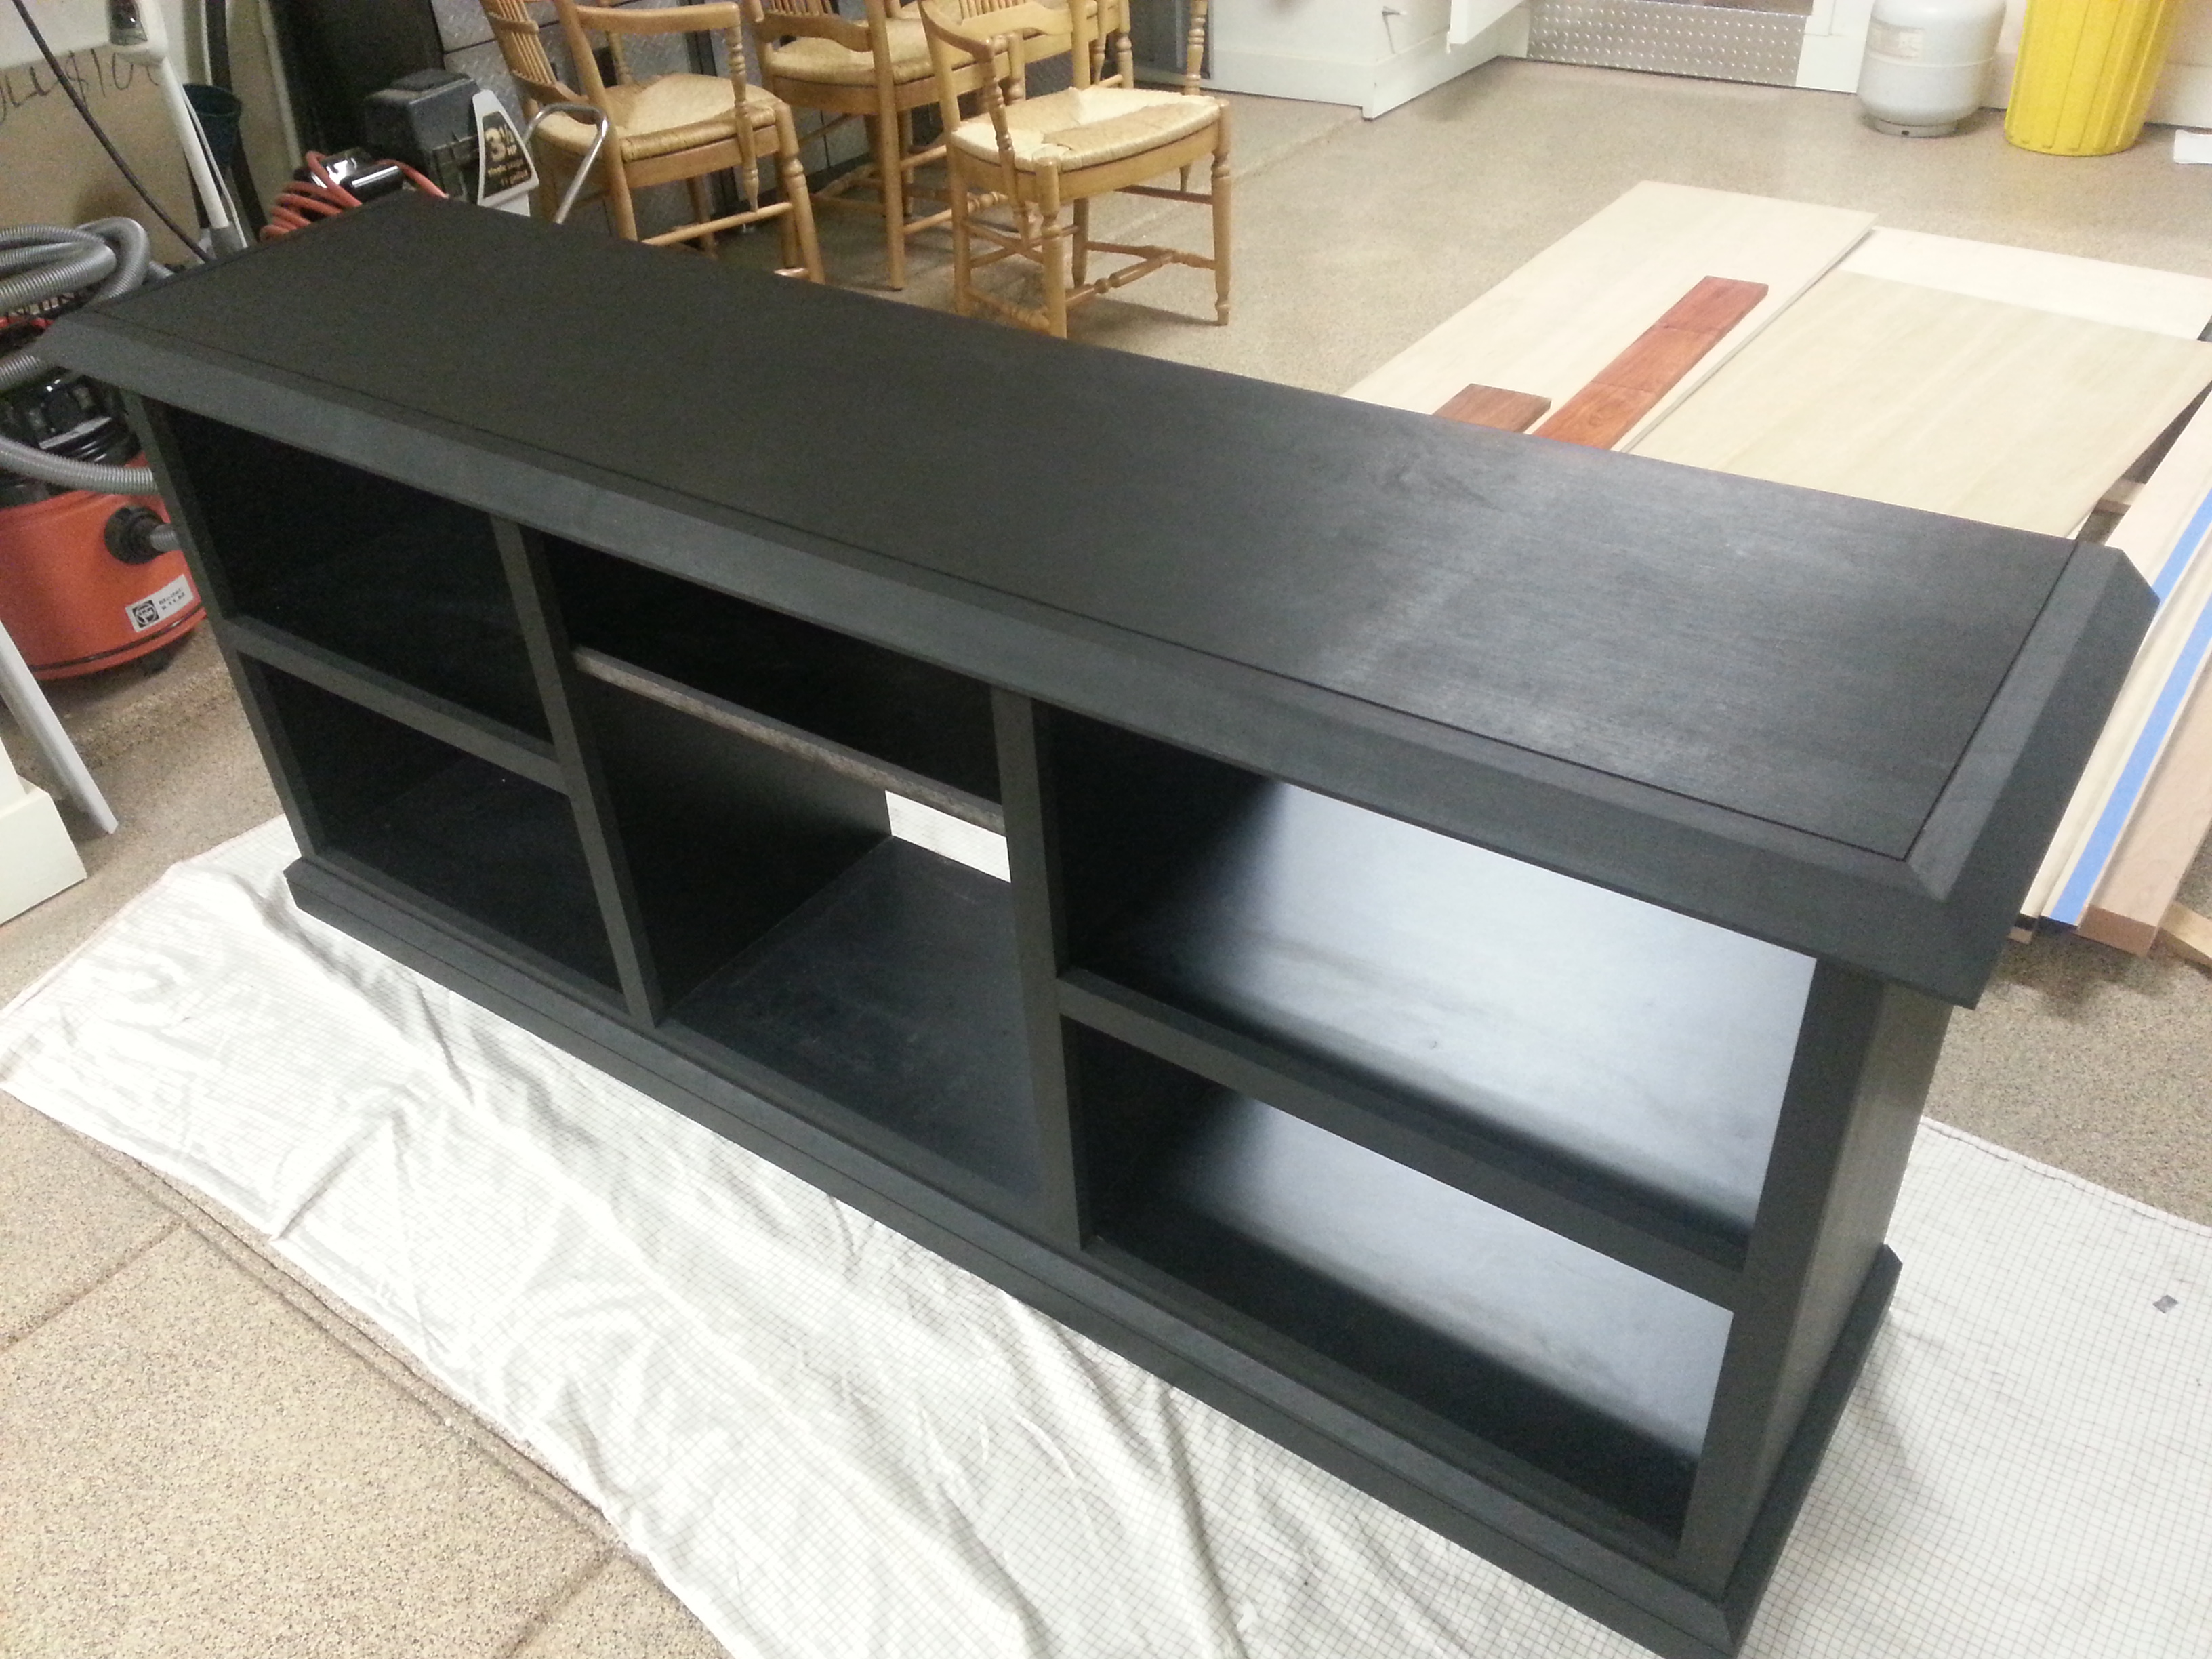
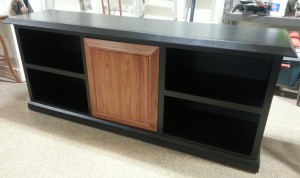
The carcase is now complete.
Adding the Details
The face frame includes a wide piece at the base that aligns with the bottom shelf and a 3” wide piece that aligns with the top of the case. These pieces were cut to size and clamped in place. The remaining 1-1/2” wide pieces were carefully cut to fit and clamped.

When everything was properly aligned the faces were taped, labeled and the frame was assembled using a Kreg pocket hole jig. The tape clearly identified the front of each piece and helped to make sure the right face was drilled.

Before the frame was attached it was dyed black so we would not have to do any staining of the interior after the cabinet was assembled. The frame was glued in place and attached with screws through the base support from the inside and pocket screws through the top and shelves.

The angled clamp in front is correcting an alignment.
After the clamps came off the ends of the frame were flush trimmed and the black dye completed. At this point the color is more of deep charcoal gray than black.


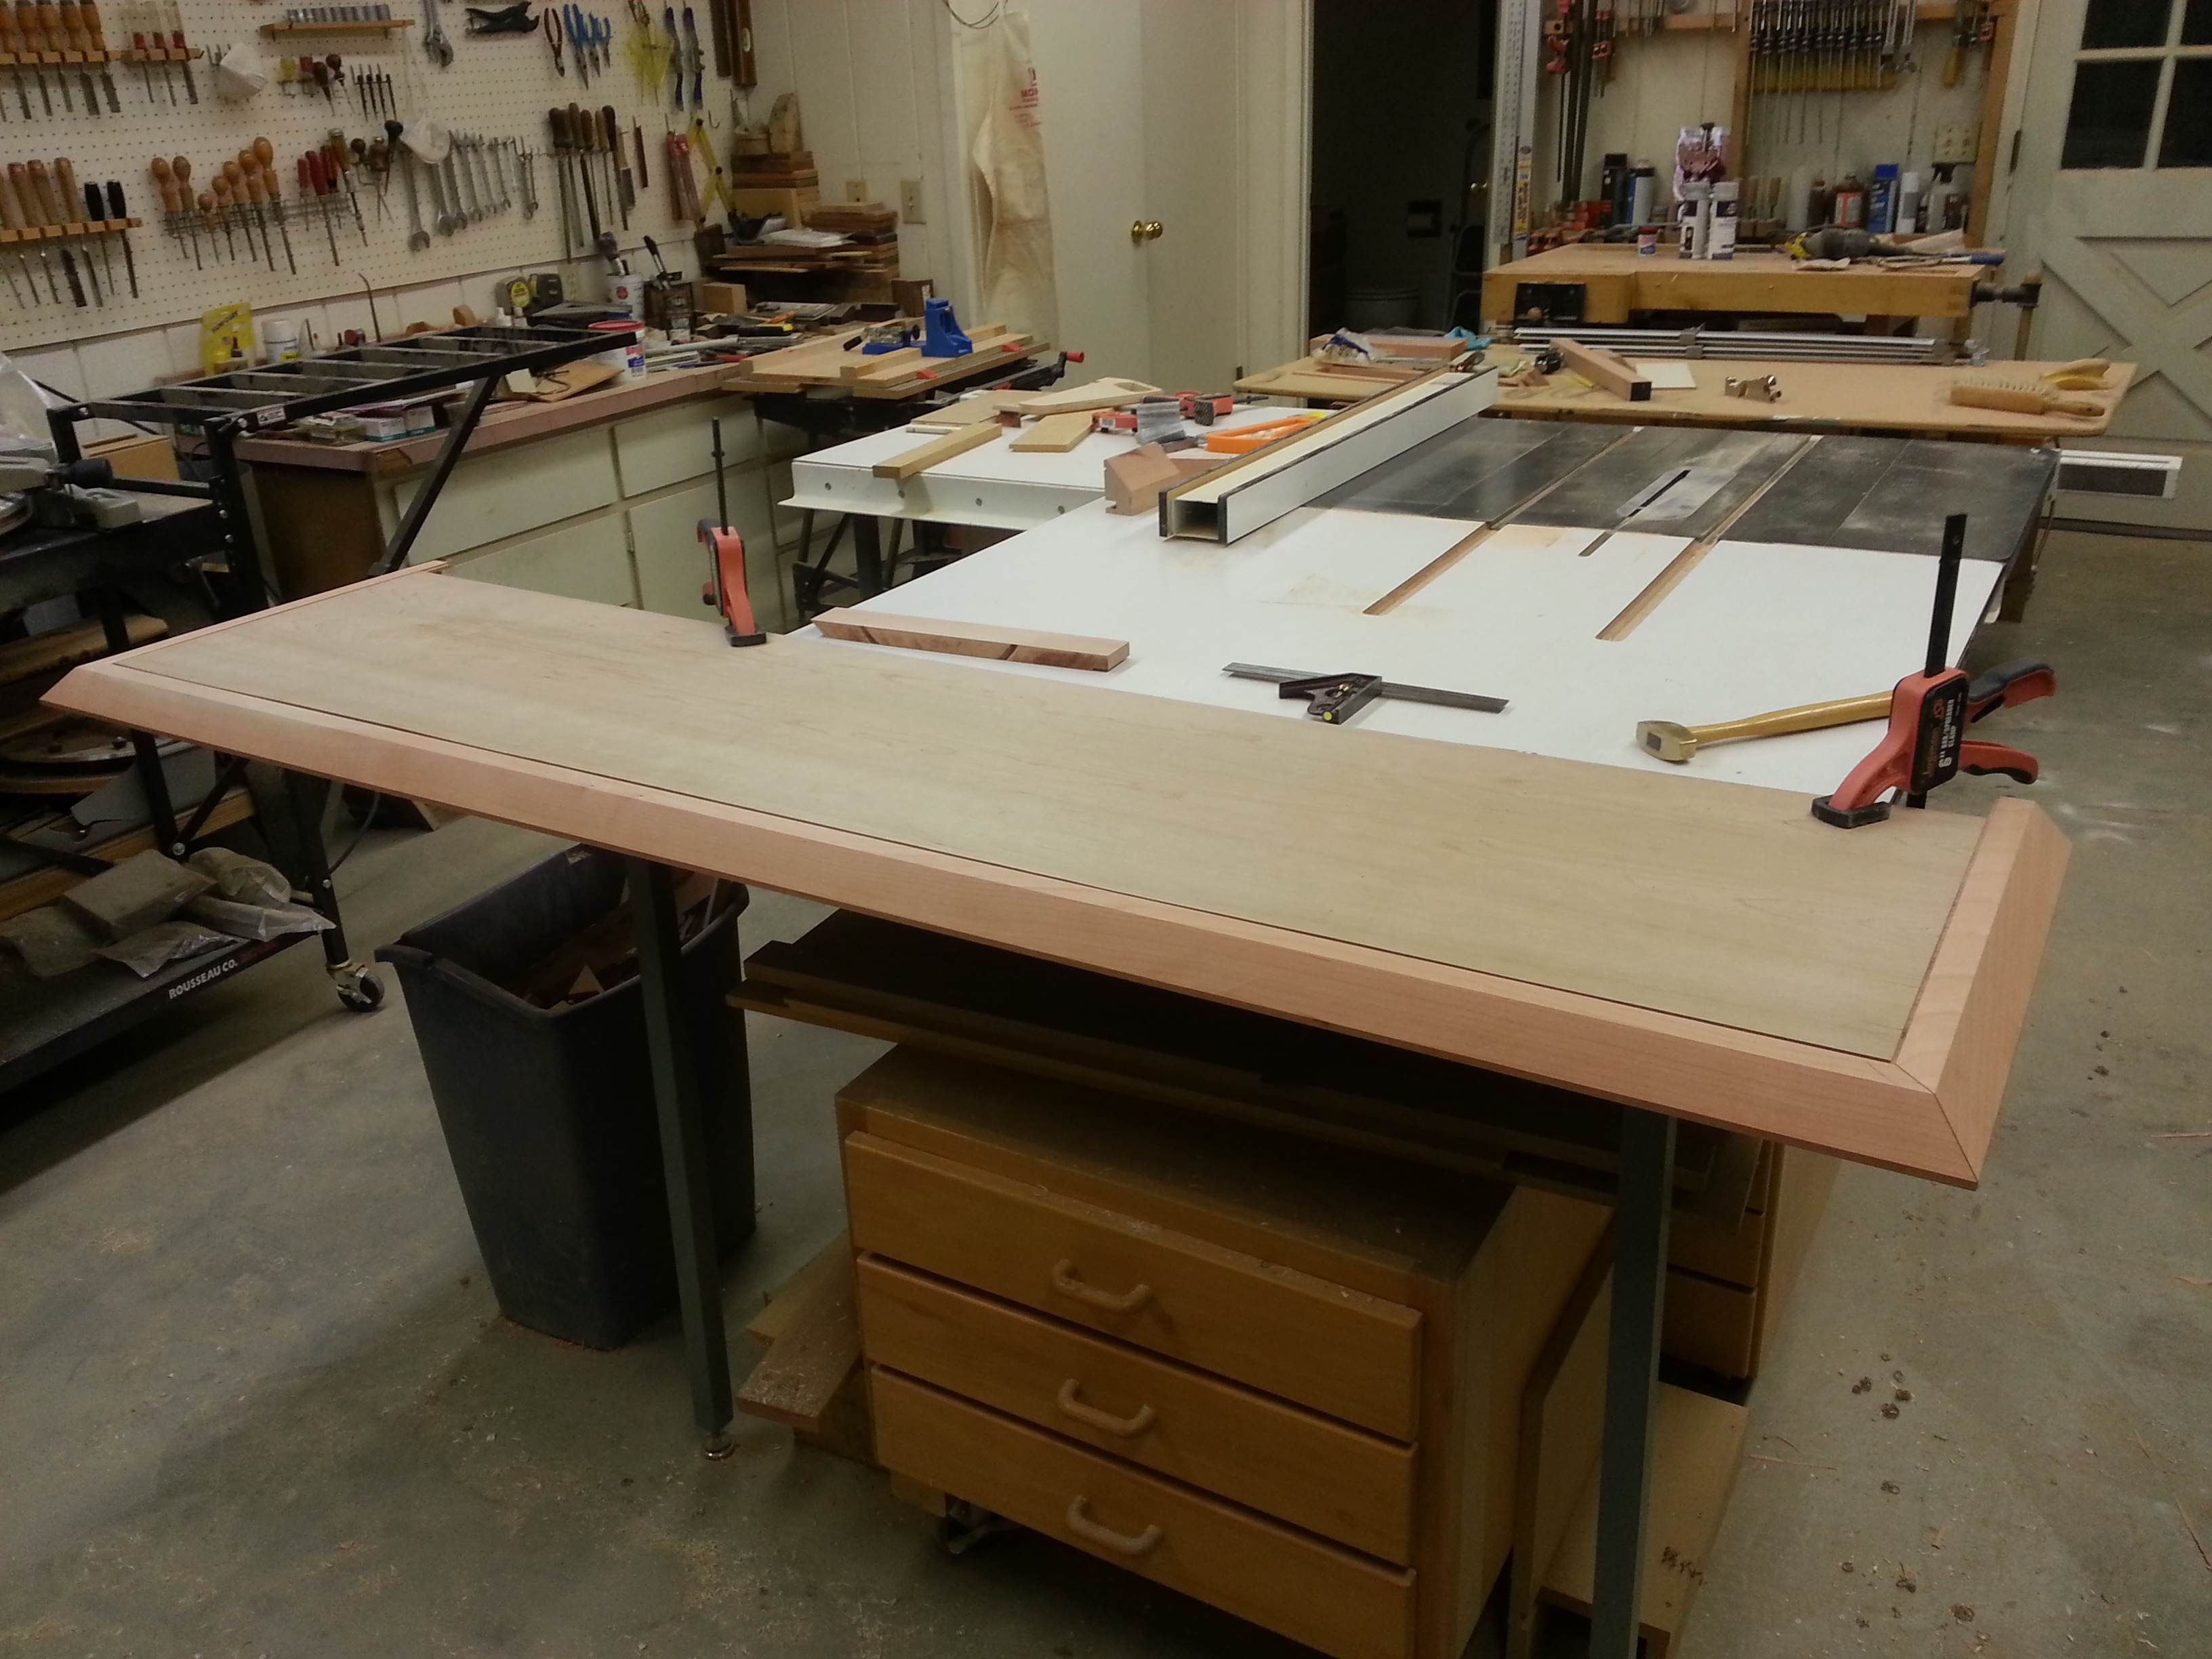
The top is Cherry plywood with the edge overhang made from 8/4 Cherry planed to 1-5/8. The molding is attached to a tongue with glue and screws, leaving a 1/8” groove. Here we are checking the mitre joints and marking the ends to length.
The base molding matches the top, bevel edge and a 1/8” groove. The center section was drilled for a movable shelf. Everything dyed, Master Gel applied and ready for lacquer.
Making the Door
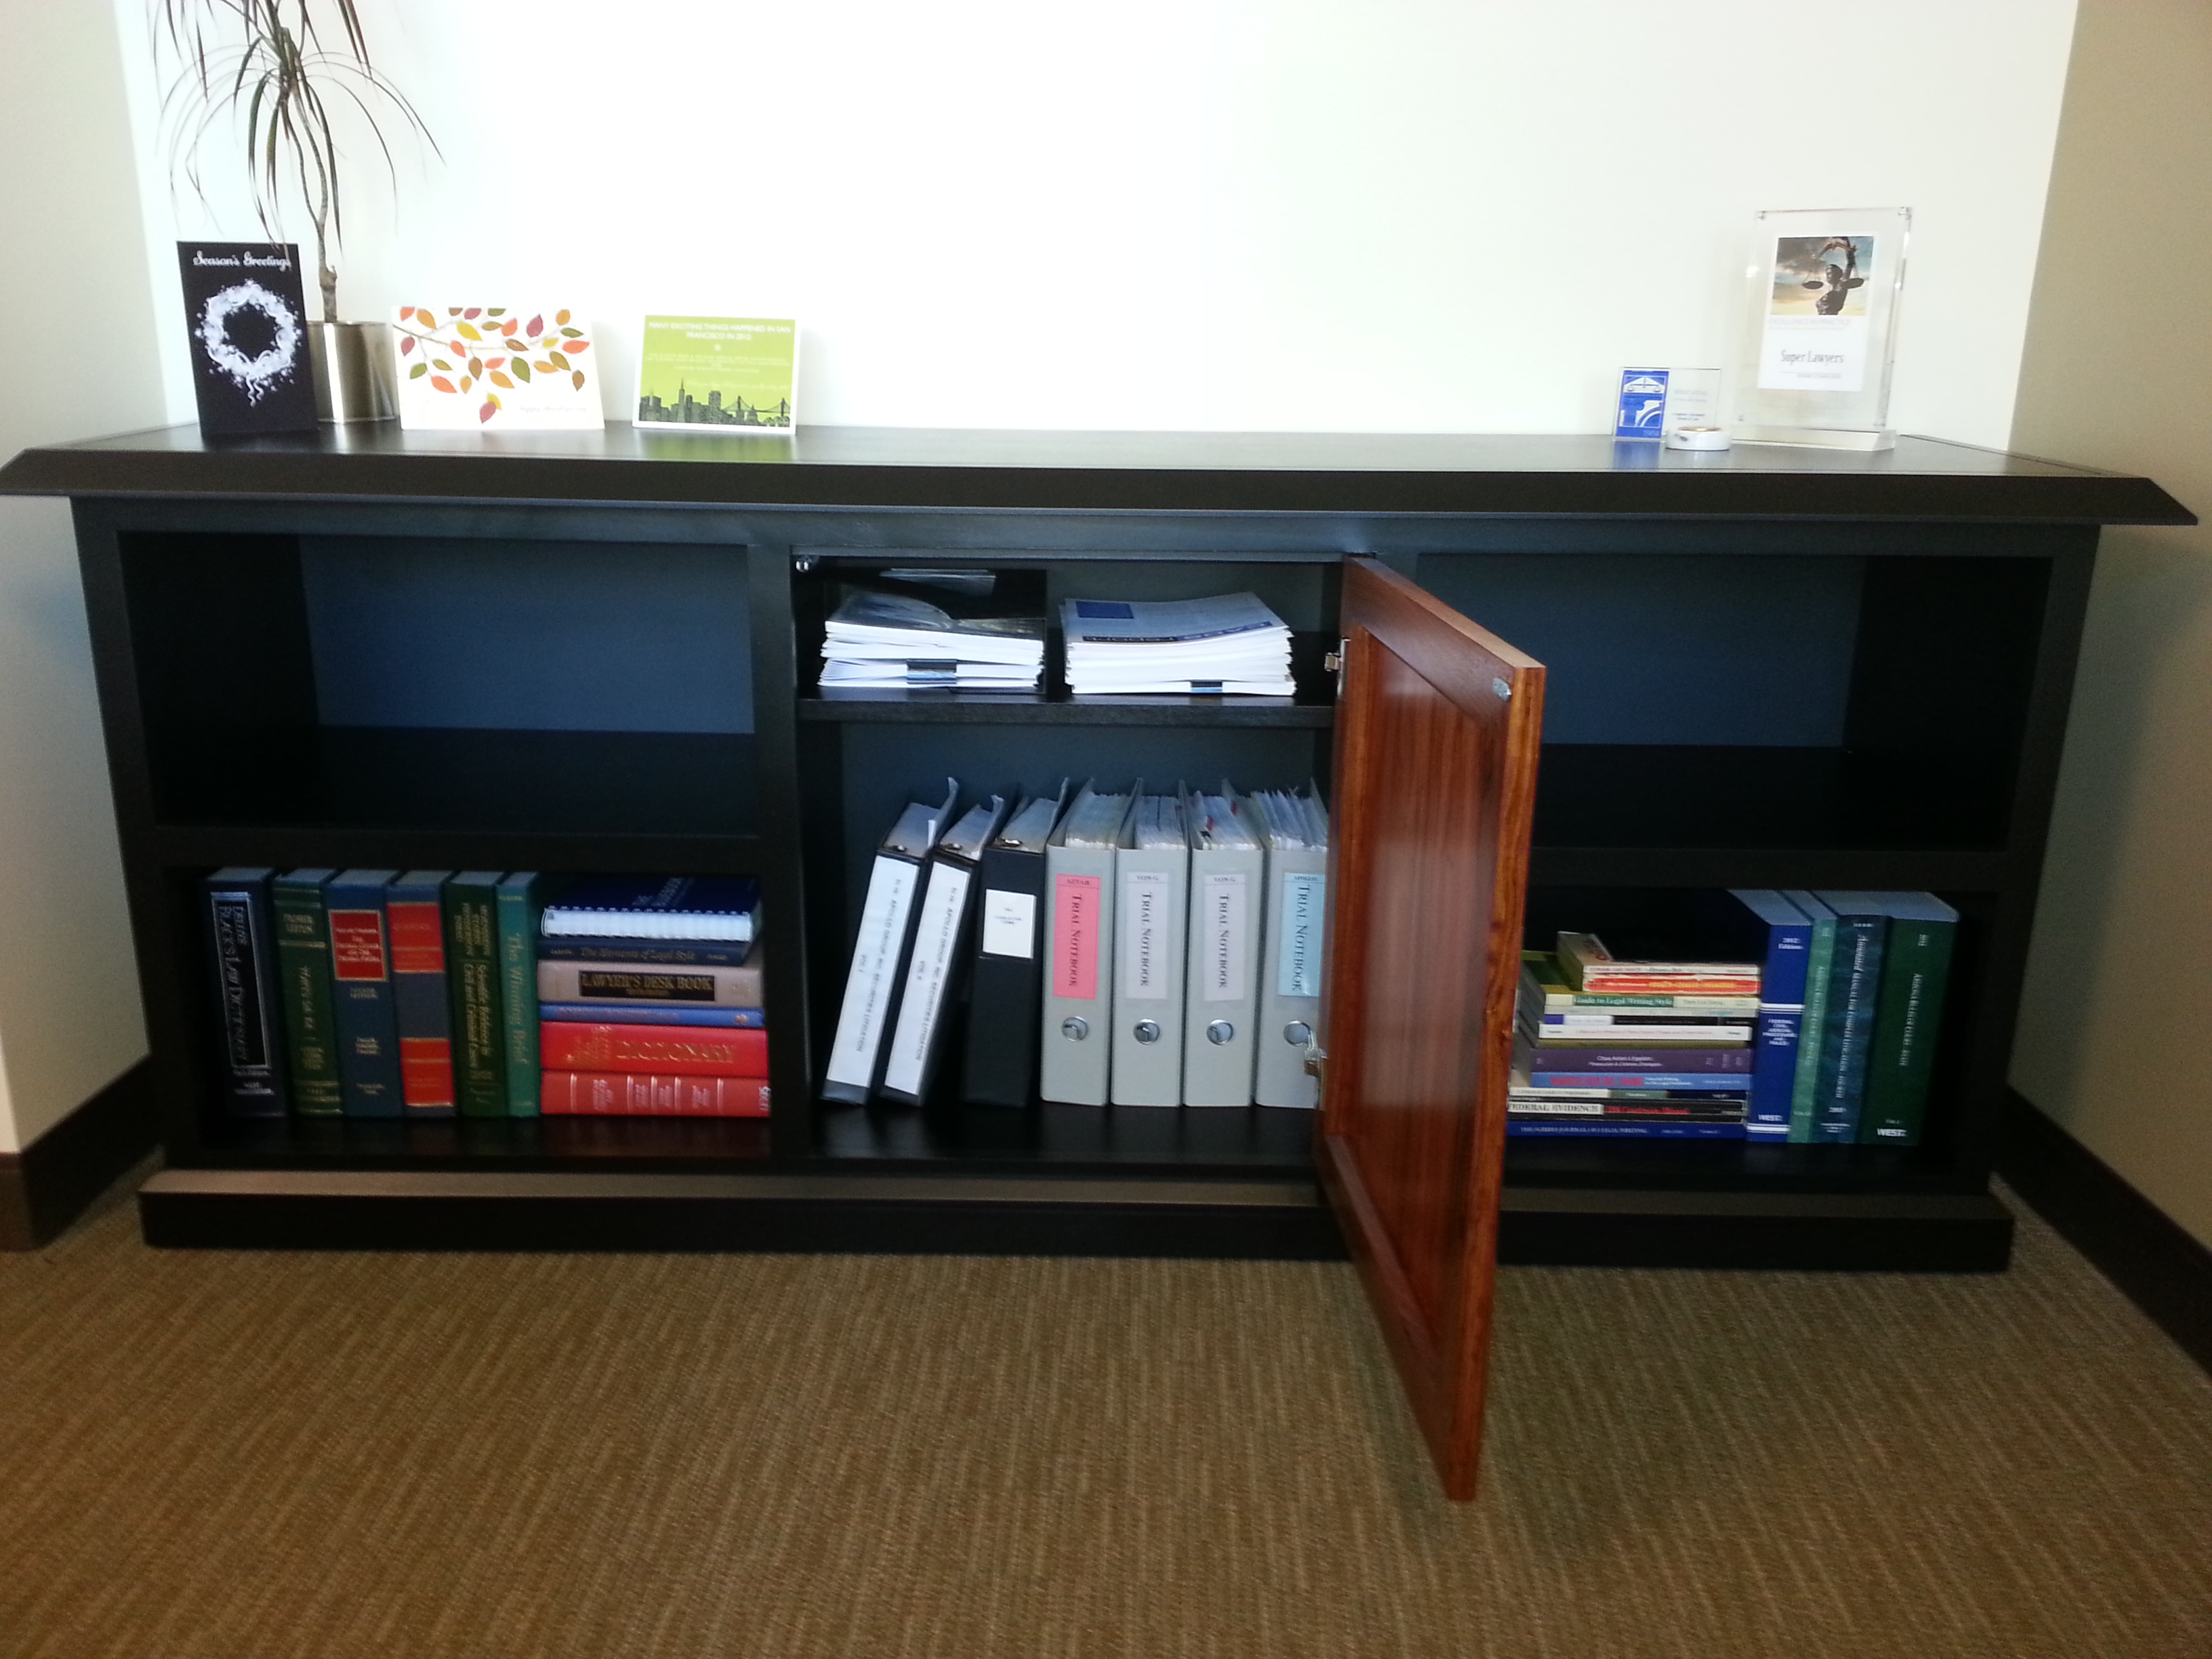
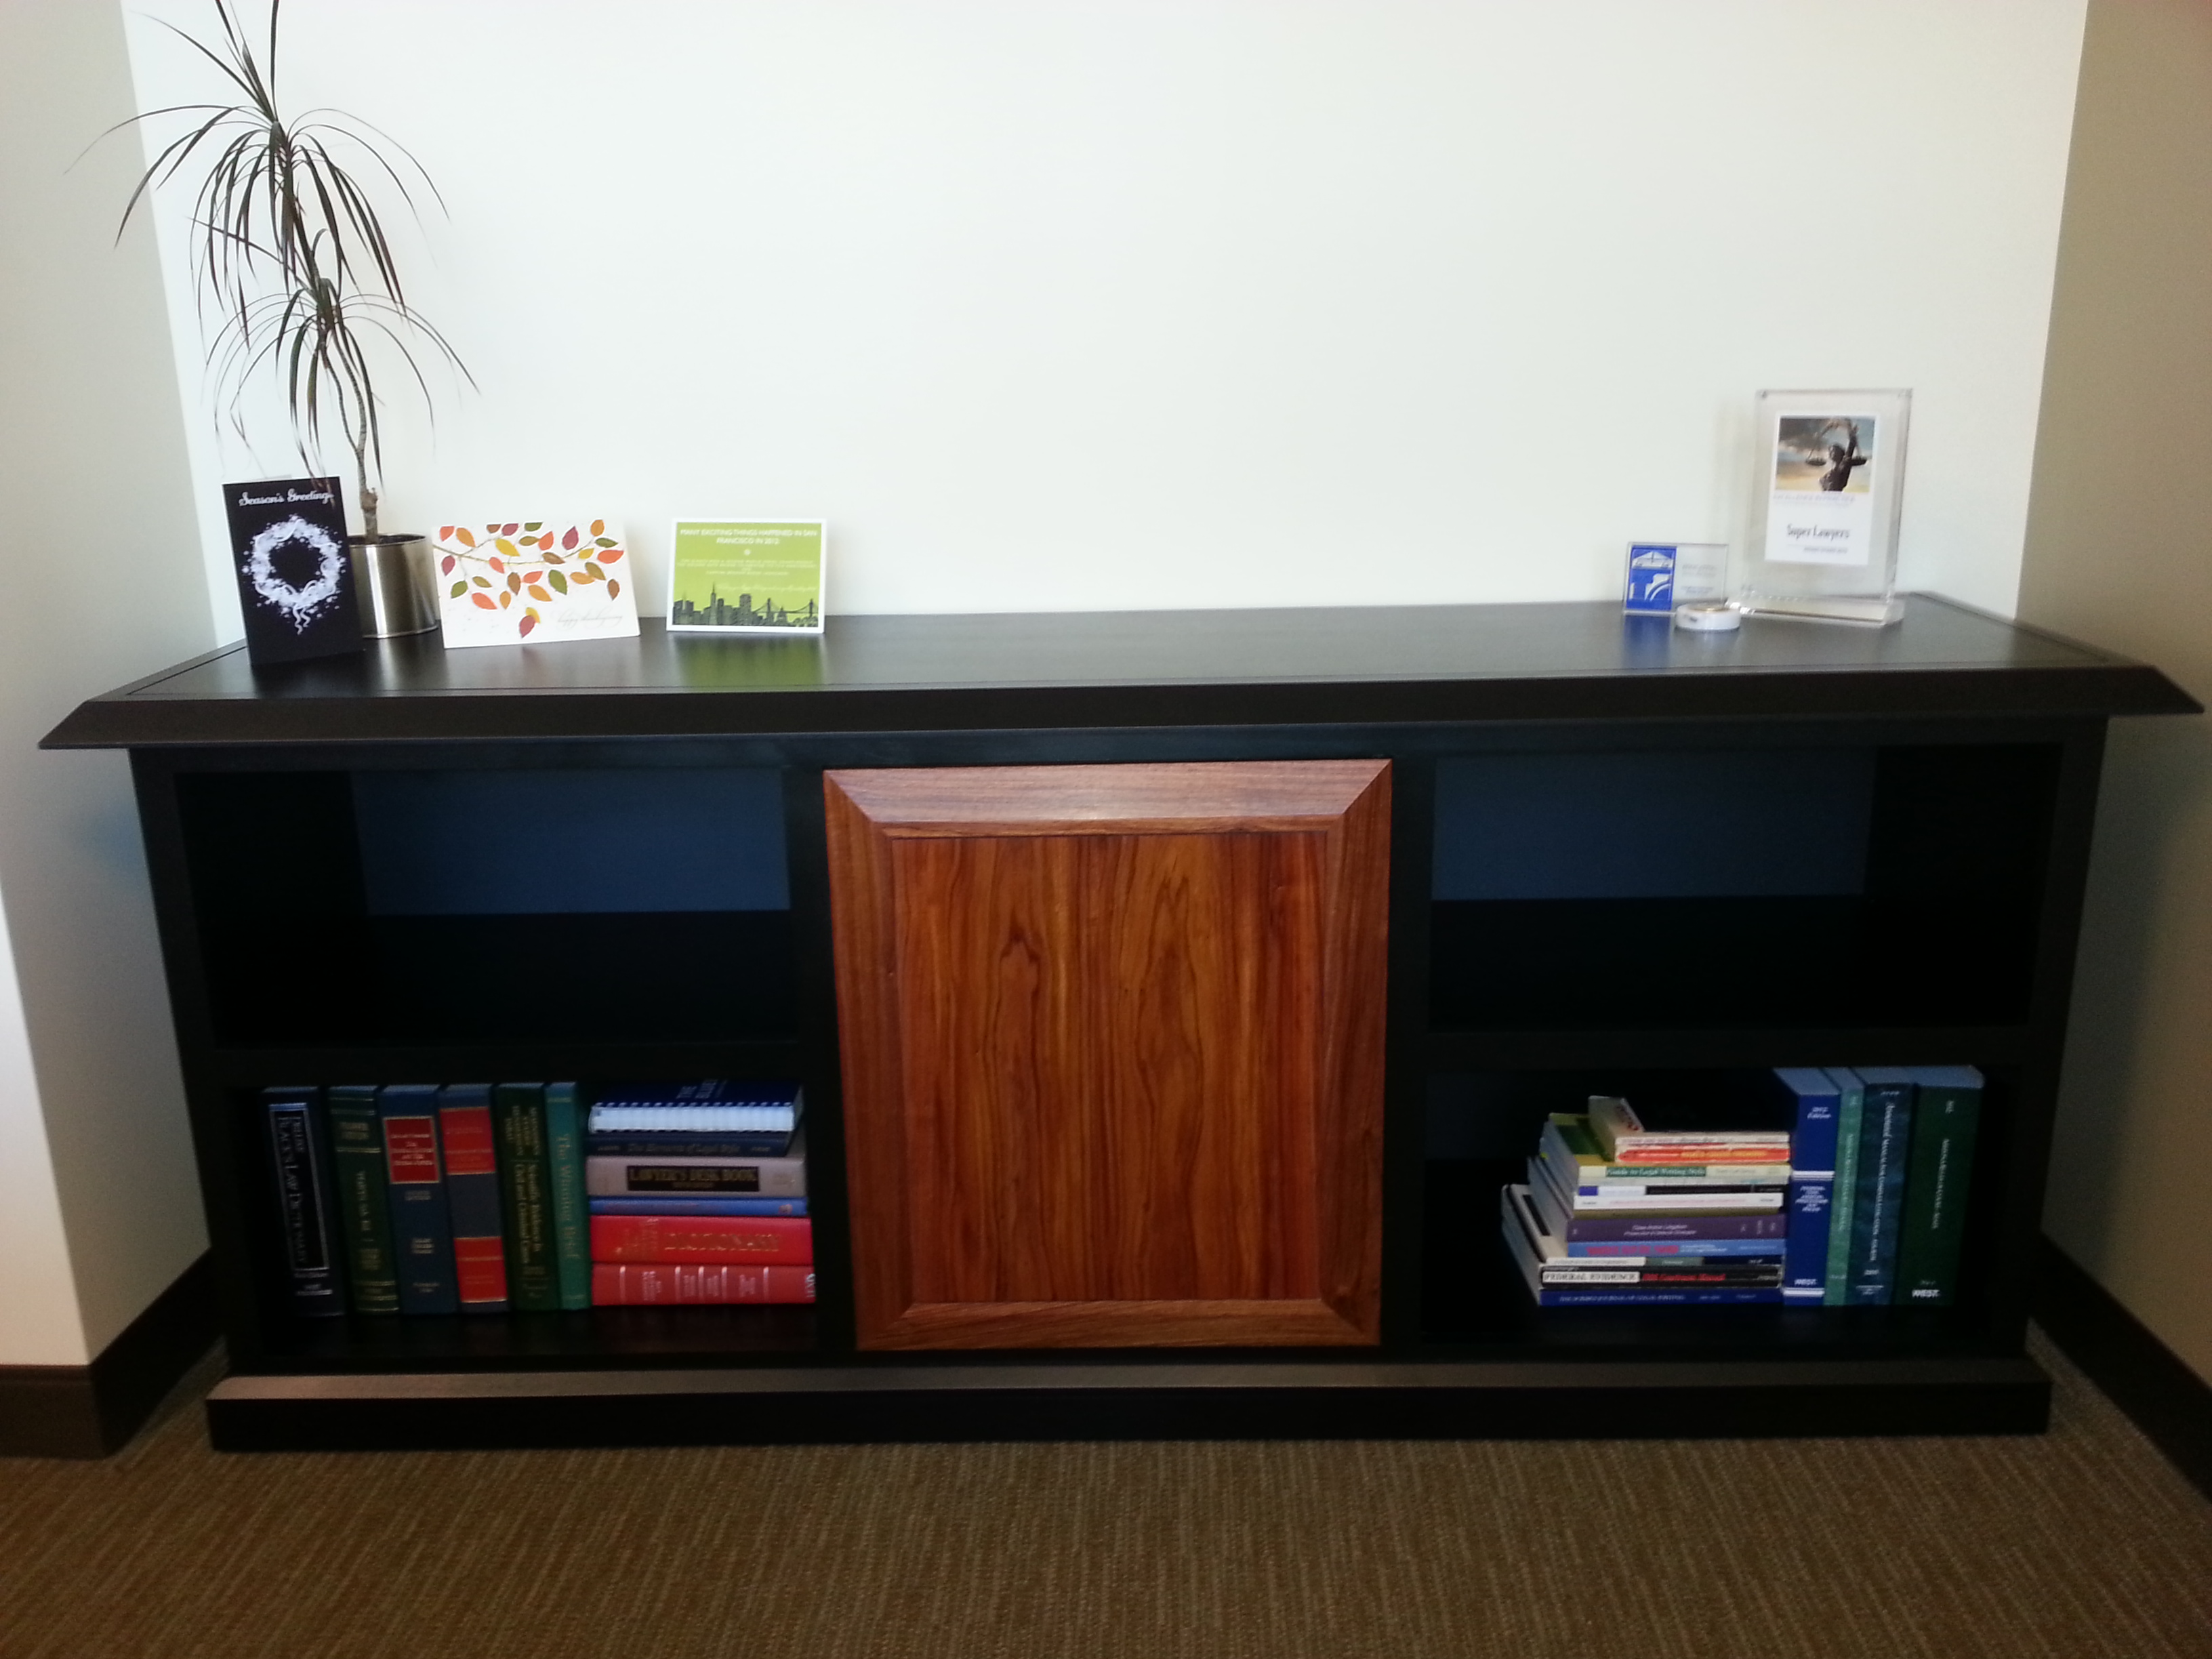
 Despite all of the work building the case for this credenza, the star of the show is the single center door.
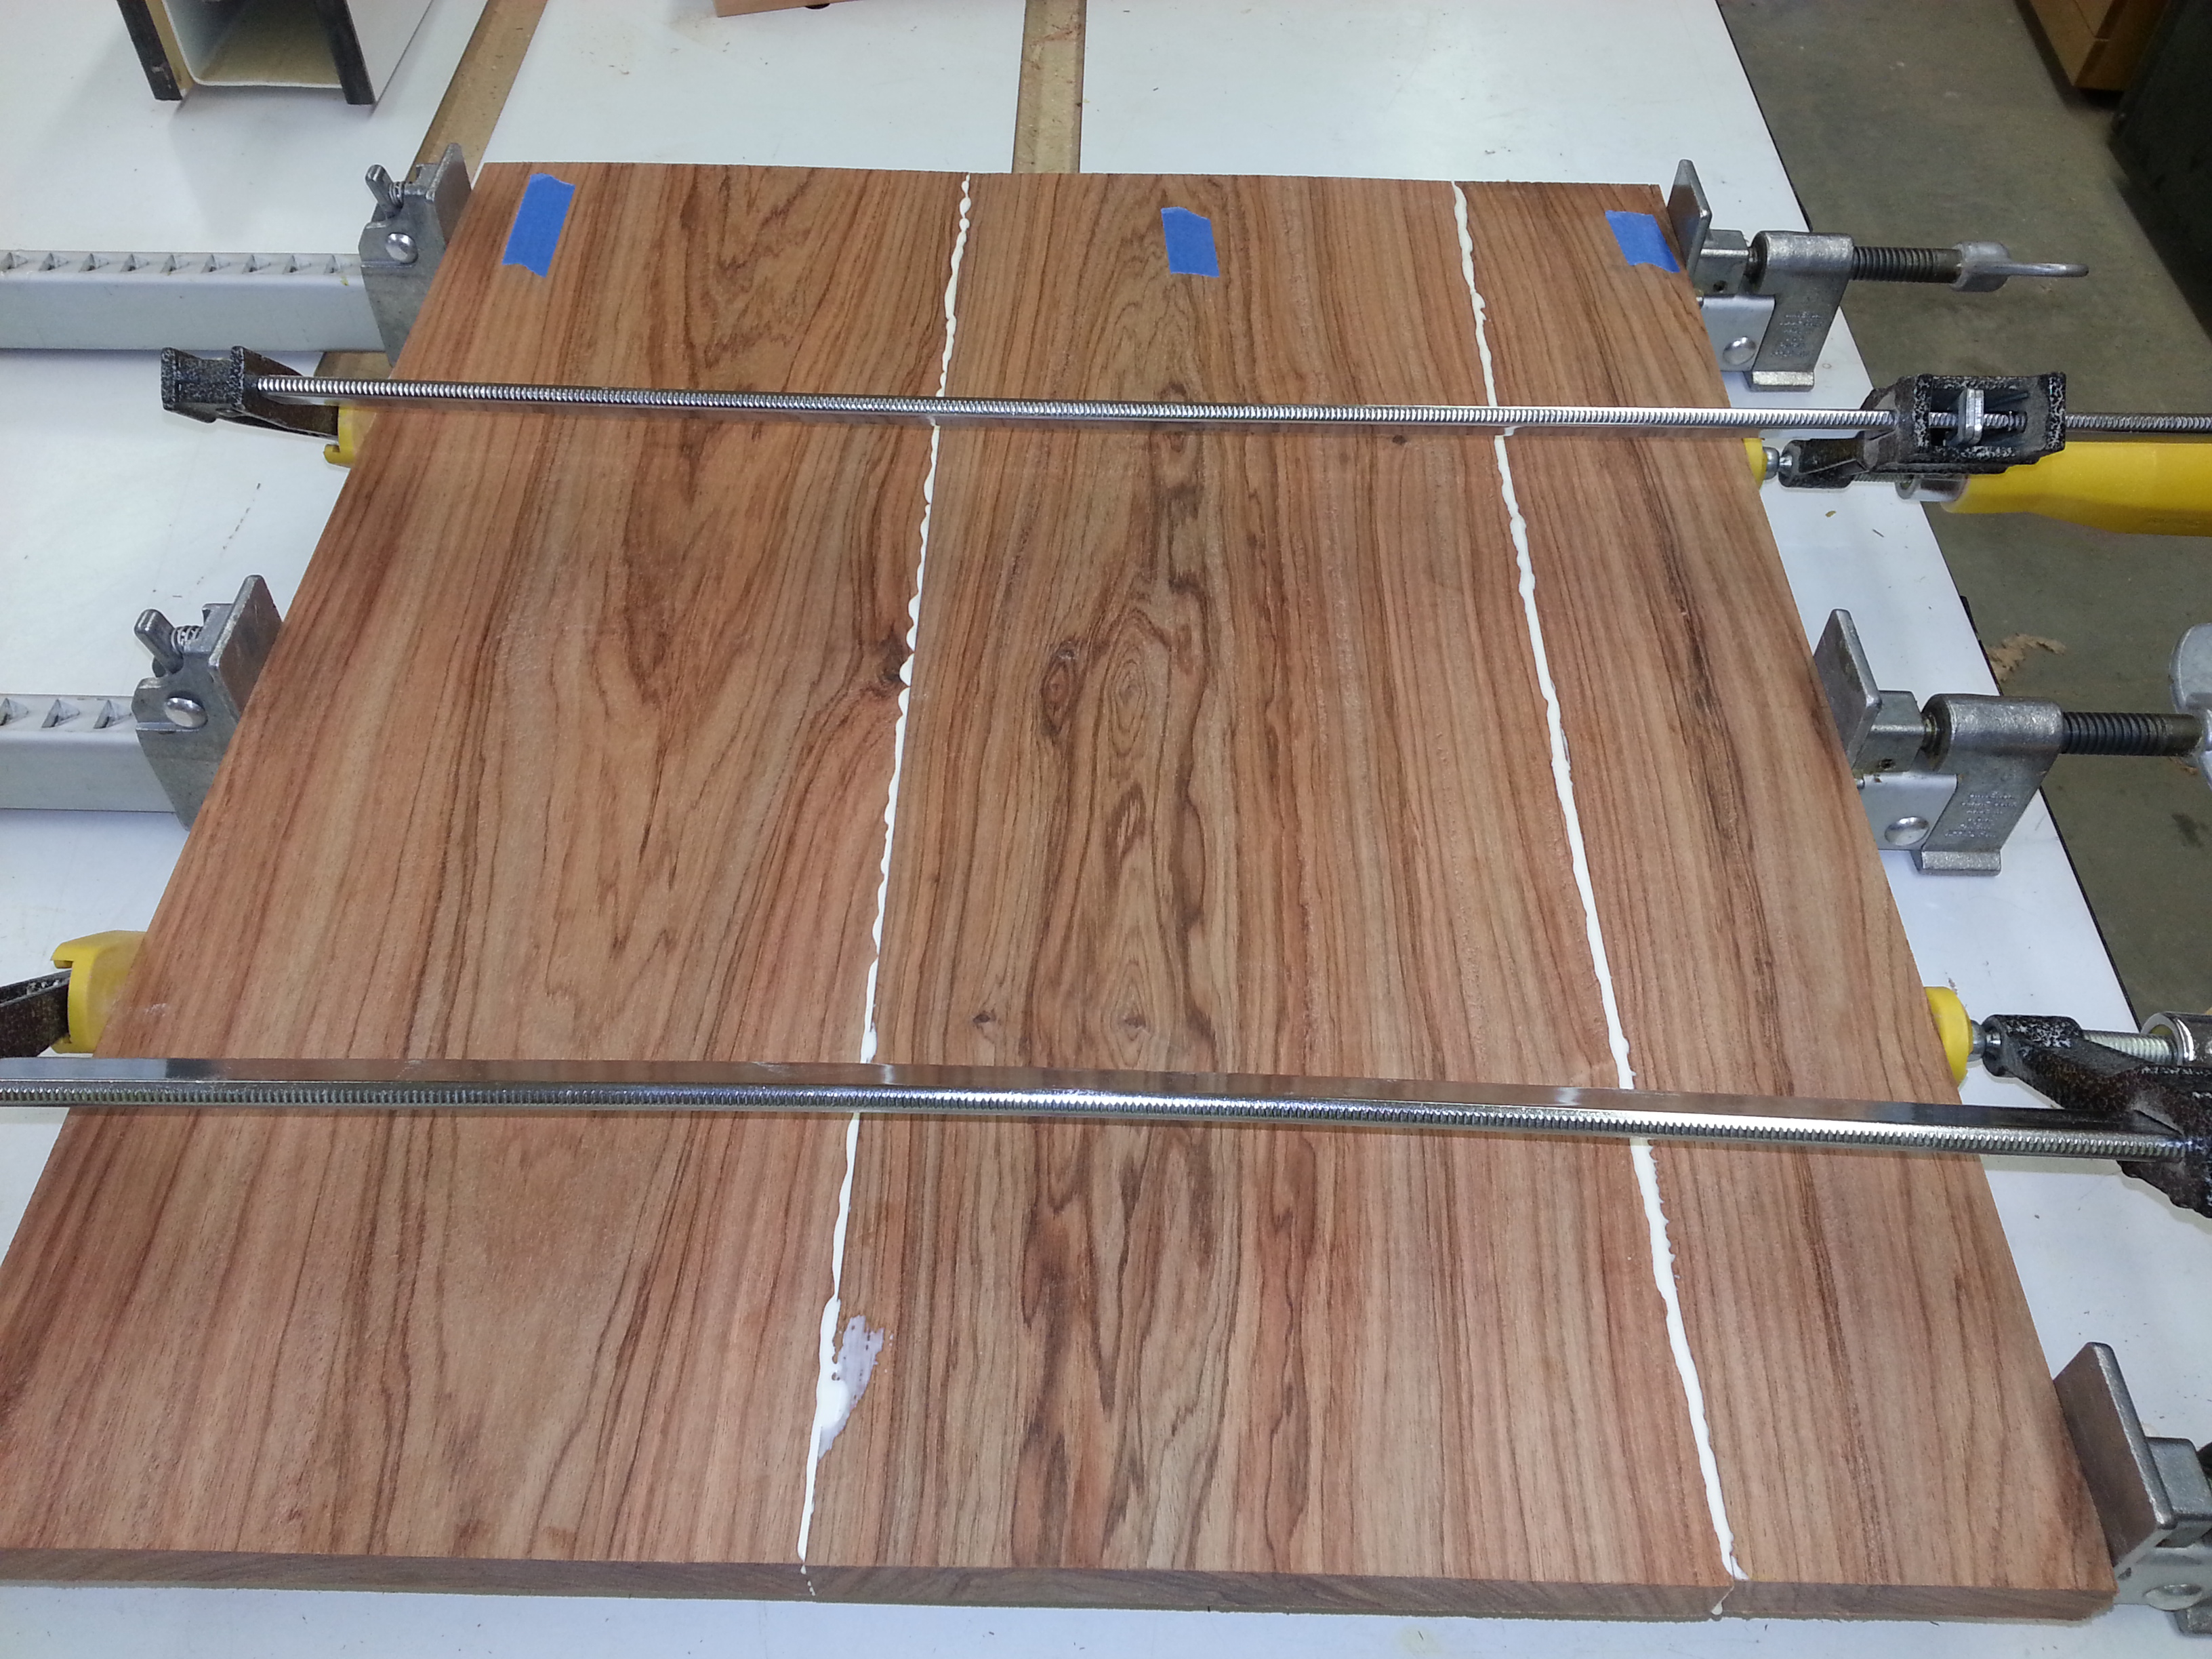
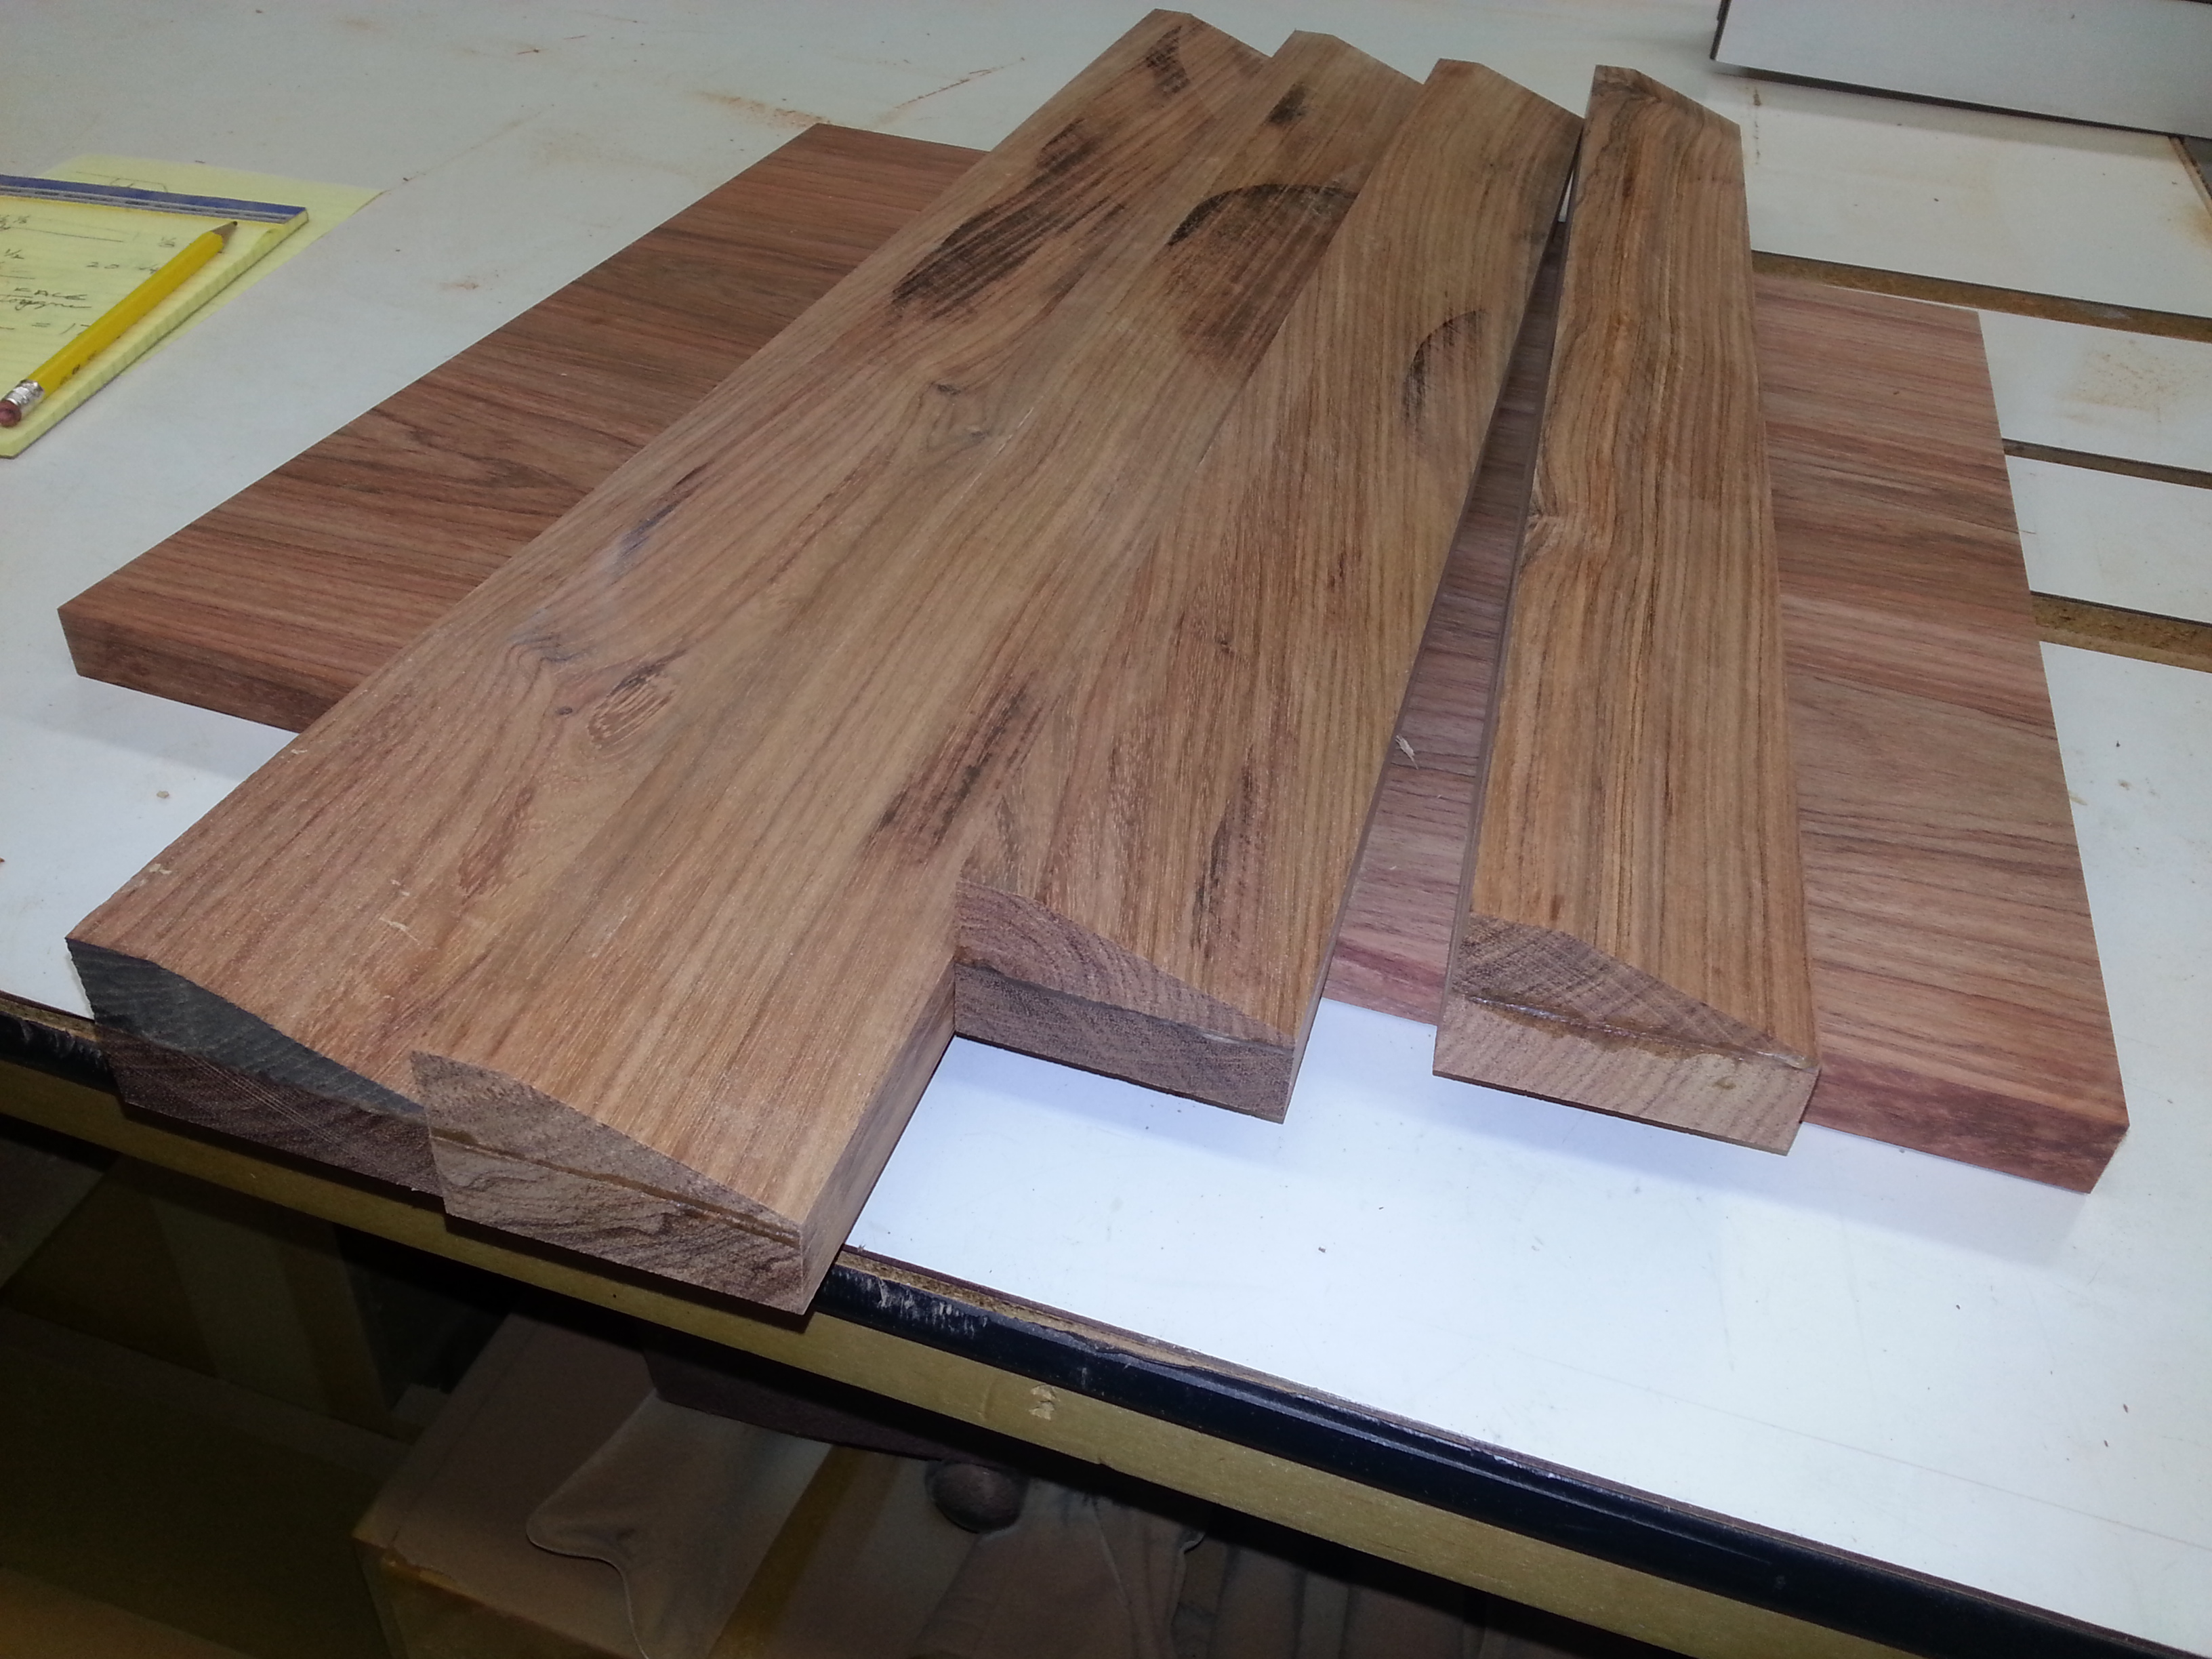
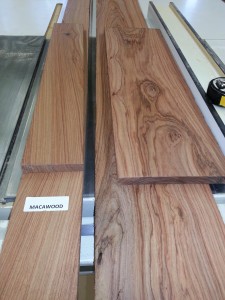
The wood is Macacauba from north central Brazil.
This is a great cabinet and furniture wood but it is also used for traditional marimba bars.
The door frame was to be beveled so we decided to make it extra thick. The panel would set proud of the frame. Straight grain sections were selected for the frame, cut and face glued to create the thickness.
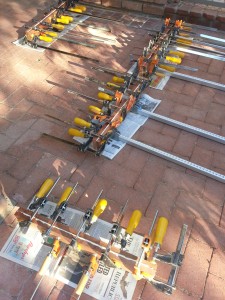
A lot of clamps were used to insure a flat piece and a nearly invisible glue line.
For the panel we chose cathedral grain for the center with straight grain on the sides. This was a simple glue up but it always amazes me how things can go wrong. To help make sure things went right the blue tape identified the face and grain orientation.

Here are the door pieces partially milled, cut to size with the bevels.

Finally, here is how it went together. The panel tongue floats in a groove in the frame and was positioned so there is a 1/8” groove all the way around. To keep everything in place a drop of glue was applied in the center.

When the glue had set the bevels were hand planed, scraped and sanded. For strength, splines were added to each corner. One coat of sanding sealer followed with 5 coats of satin lacquer, a little touch up, and the door was ready to be installed.
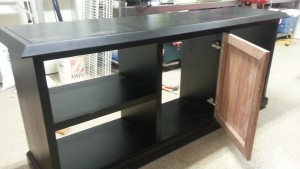
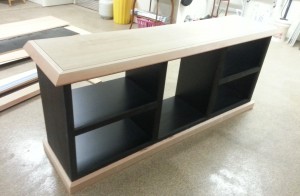
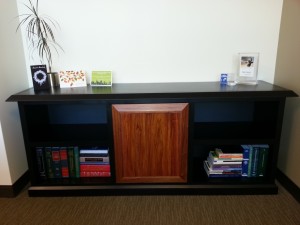
Screw on the back, add the adjustable center shelf, dust and this project is ready to go home.
All done, delivered and put to work.

Vice President of Operations – Woodworkers Source
We’re a family-owned lumber & woodworking supply retailer with 3 delightful stores in Arizona, and 35 friendly employees.
Mark oversees the company and creates tutorials on wood finishing and woodworking tips for hardwood lumber.
Woodworkers Source is a division of MacBeath Hardwood Co.
Discussion, Questions & Answers