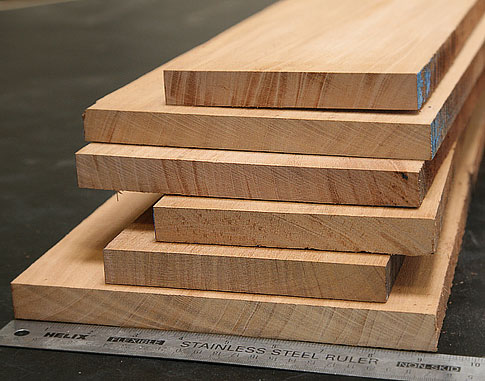
9 pc Cutting Board Strips Assortment Kit - Walnut, Cherry & Maple - 1.75"x1.75"x18" (Choose Your Sets)
No Reviews Yet |
Write a Review

On Sale
$130.00 $117.00
Sale Savings! $13.00
Free Shipping
48 U.S. Ground Service
How Do You Want It?
Pickup In-Store
Click to choose a location
Ship to My Door
Arrives Fri, Nov 27 - Tue, Dec 1
- Ready-to-Build
- 3 Classic Woods
- Free Shipping
Description
Build stunning cutting boards without hunting down lumber, ripping strips, or hoping the grain matches.
We bundled the Big Three species into one ultra-easy kit that’s ready to glue up and finish.
What You Get
-
9 total strips per set
-
3 Walnut, 3 Cherry, 3 Maple
Each strip: 1.75" × 1.75" × 18"
S4S, smooth, and ready to assemble.
-
Why These Kits Are Awesome
-
Instant color combo: The classic Walnut/Cherry/Maple trio. Looks pro.
-
No saw required: The ripping, jointing, and sizing are done.
-
Perfect for gifts: Make one board or several small ones.
-
Zero guesswork: Every strip is uniform and ready for glue-up.
-
Beginner-friendly, pro-approved: Anyone can make something show-stopping.
Pick Your Set Size
-
1 Set — Try it out. Build a board or two.
-
3 Sets — Best Value — Make gifts for family, friends, neighbors, coworkers.
-
5 Sets — Workshop Pack — Great for small-batch makers or holiday production runs.
Why Customers Love This Kit
-
It turns a weekend into a pile of handmade gifts.
-
Every finished board looks way more expensive than the materials.
-
You don’t need a shop full of tools — just glue, clamps, and sandpaper.
Give Better Gifts
Build beautiful cutting boards that feel custom, handcrafted, and thoughtful — without the usual lumber-yard hassle.
Specifications
Nominal Thickness
1-3/4"
Actual Thickness
1-3/4"
Width
1-3/4"
± 1/8" tolerance
Length
18"
± 1/2" tolerance
Quantity
9pc set, Choose 1, 3, or 5 sets
Brand
Woodworkers Source
Size
1.75"x1.75"x 18"
Use & Care
Solid wood is a natural material that responds to changes in moisture, temperature, and humidity. A little preparation and proper storage will help you get better results from your lumber and wood components.
Let the Wood Acclimate
Allow the wood to adjust to your shop or project environment before final milling, assembly, or finishing. Changes in humidity can cause solid wood to expand or contract.
Store It Flat and Supported
Keep wood dry, protected from direct sunlight, and supported so it cannot sag or twist. Whenever possible, allow air to circulate around the material rather than trapping moisture against one face.
Mill in Stages
For projects that require precise dimensions, remove material gradually and give the wood time to settle between major milling steps. Leave a little extra thickness or width until you are ready for final sizing.
Expect Natural Variation
Color, grain, figure, and texture vary from board to board. Lay out your project parts before cutting so you can make the most of the natural character and arrange grain and color where they look best.
Use Sharp, Appropriate Tools
Sharp blades and cutters generally produce cleaner surfaces and reduce tearout, burning, and unnecessary stress on the wood. Adjust your cutting approach for the grain direction and density of the material.
Test Your Finish First
Sand consistently and test stains, dyes, oils, or other finishes on an offcut or inconspicuous area first. Finish can change the color and contrast of natural wood dramatically.
Remember:
Solid wood continues to move throughout its life as humidity changes.
Design and build projects so the wood has room to expand and contract naturally.
Customer Reviews
No Reviews Yet! Write a Review
Project Inspiration
Lumber Deals & Woodworking Tips
SIGN UP NOW to get a $10 coupon!
Our weekly email newsletter is pretty cool with project pictures made by our customers, woodworking tips, and lumber deals just for our newsletter subscribers.
We'll even give you $10 to use on any purchase of $50 or more at Woodworkers Source.